Cultivating apple trees from seeds is a rewarding process that allows you to witness the transformation of a tiny seed into a majestic tree bearing bountiful fruit. However, it’s important to understand that apple trees grown from seeds may not produce the same variety as the parent tree, as seeds inherit genetic traits from both parents.
Step 1: Choosing the Right Seeds
Select apples from healthy, disease-resistant trees that produce the type of apples you desire. Look for apples that are ripe, have no blemishes, and are free from insect damage.
Step 2: Extracting the Seeds
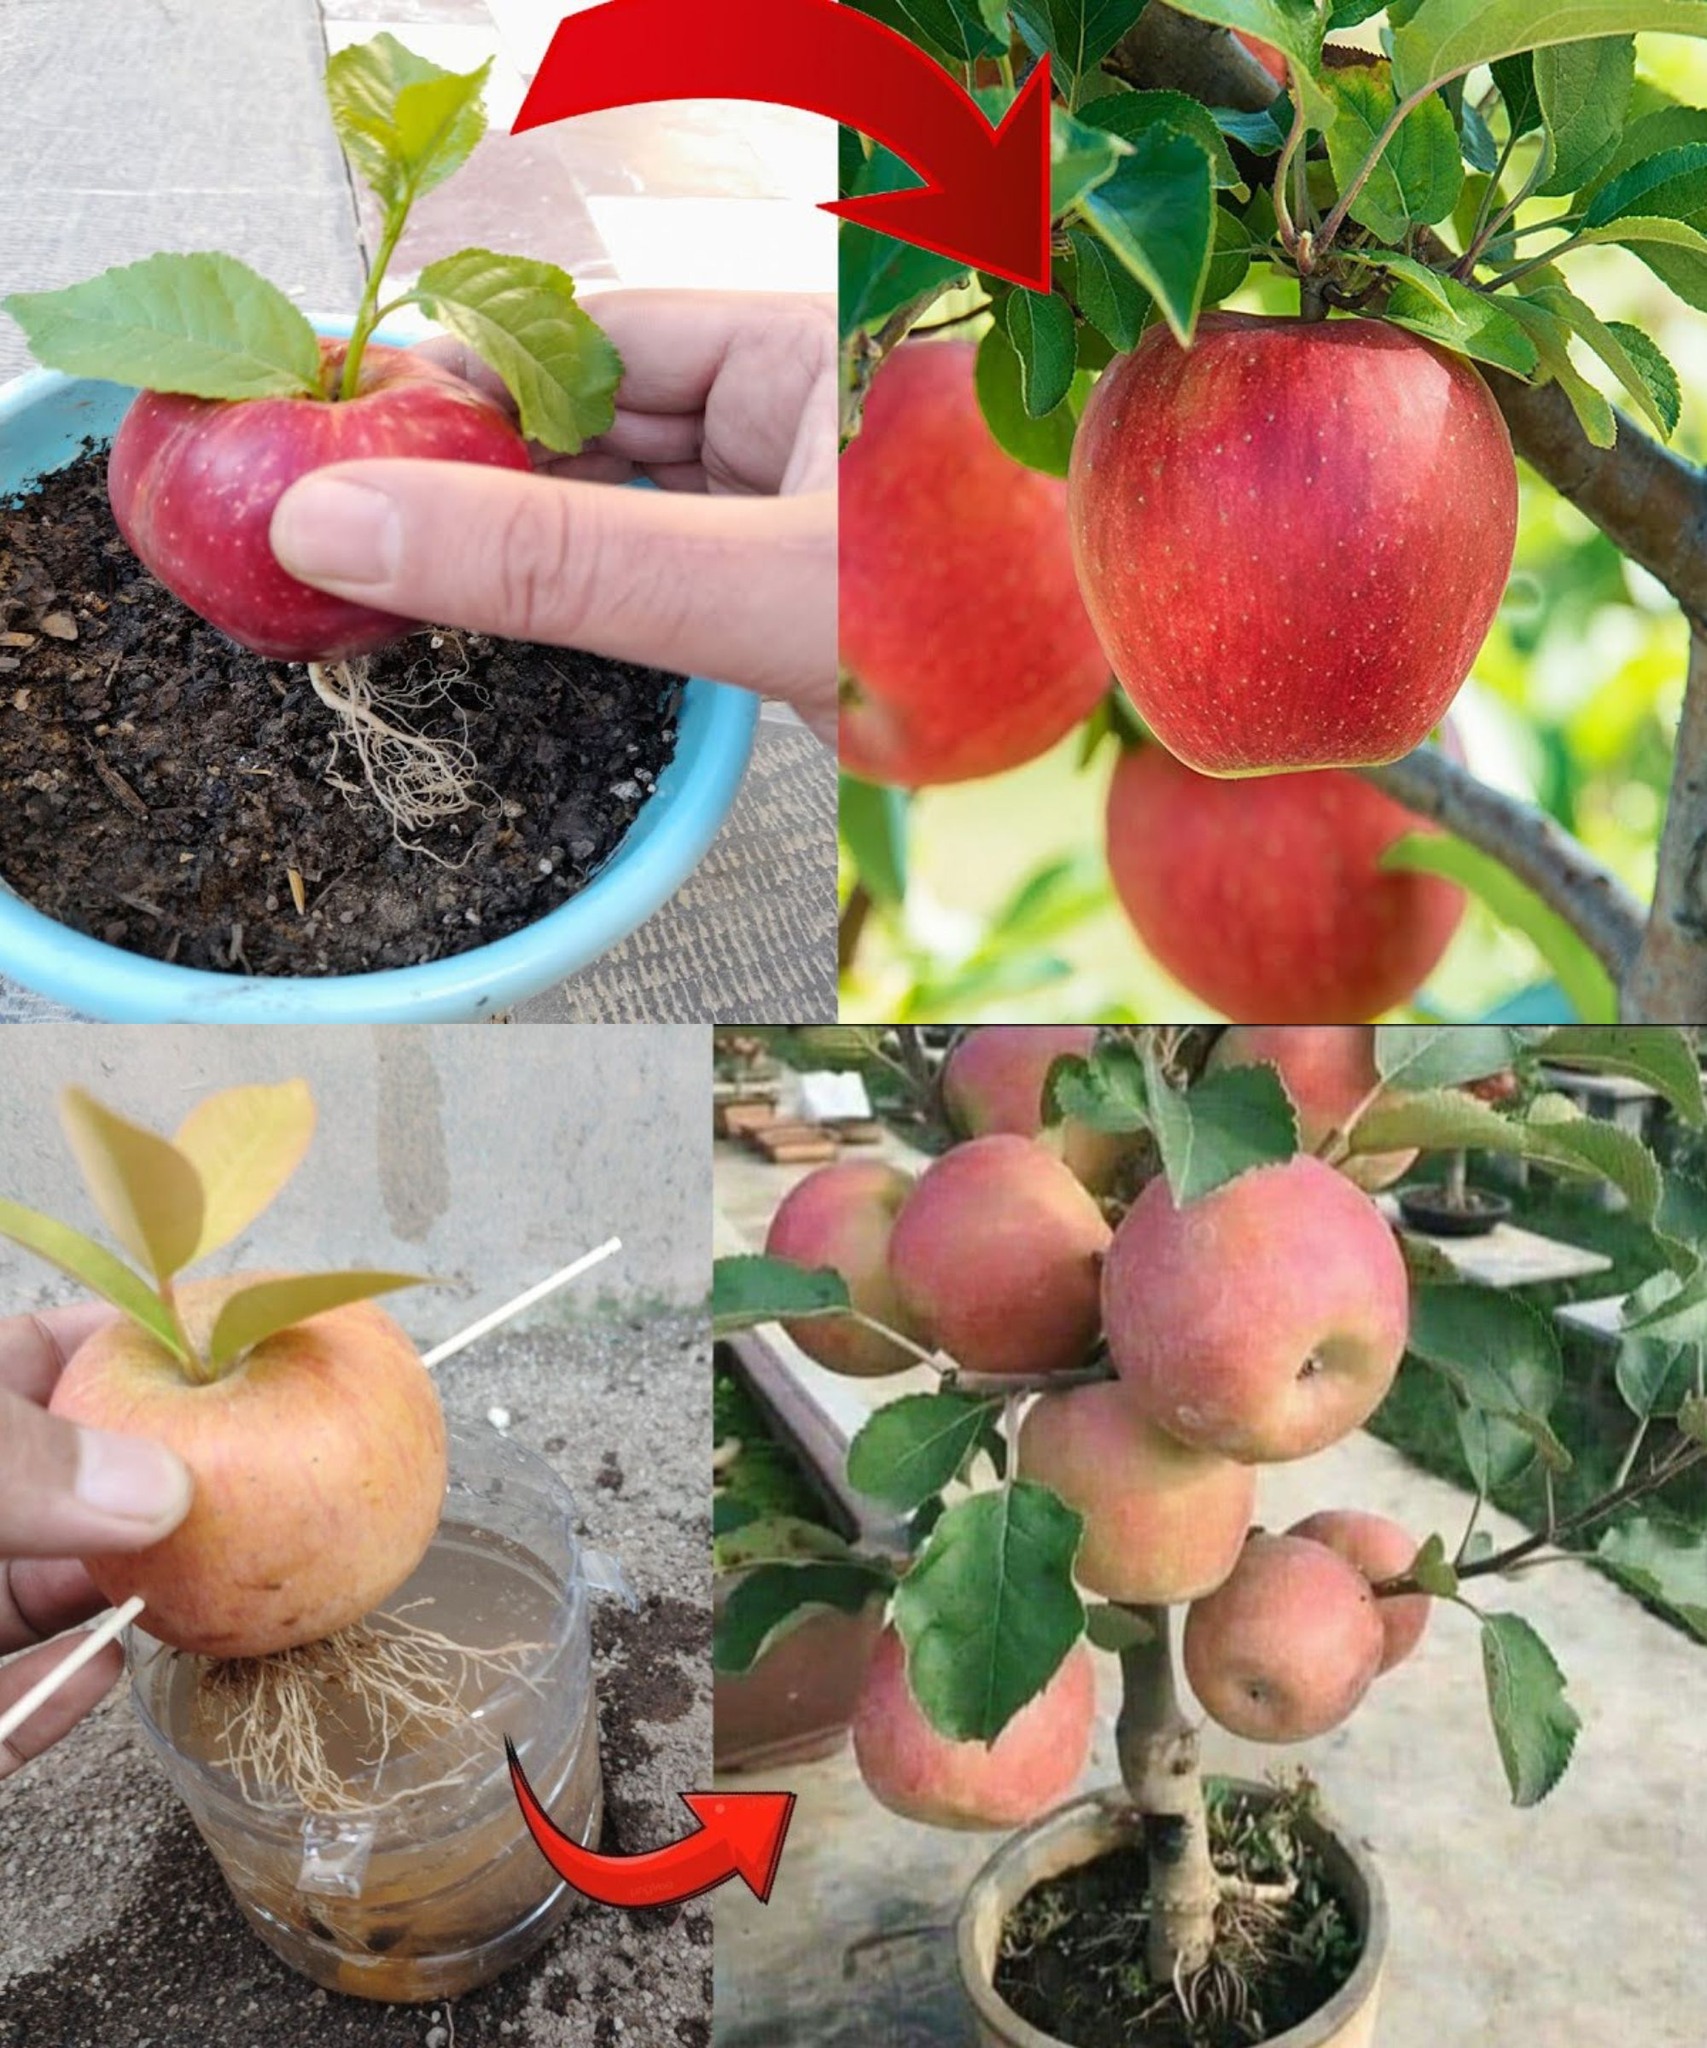
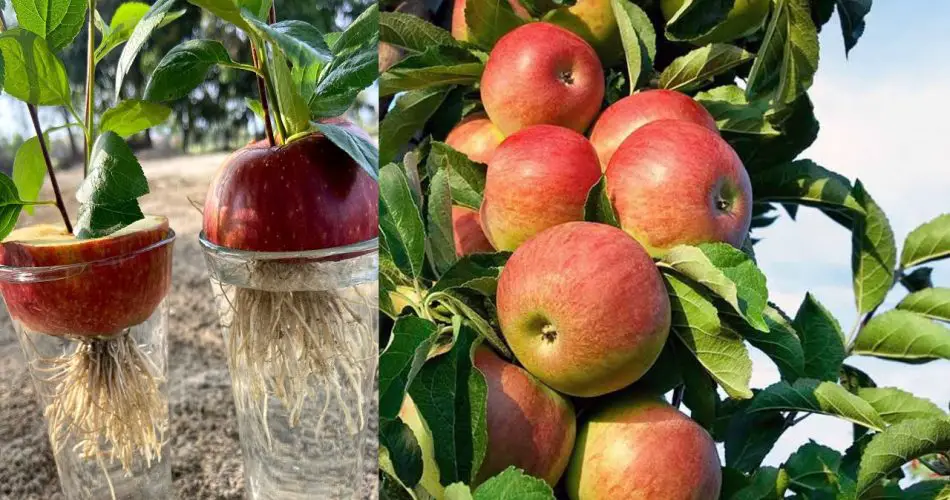
Once you have selected your apples, core them carefully to remove the seeds. Wash the seeds gently under running water to remove any apple pulp or debris.
Step 3: Stratification
Apple seeds require a cold period, called stratification, to break their dormancy and prepare for germination. Wrap the seeds in a moist paper towel or cloth and place them in a plastic bag. Seal the bag and place it in the refrigerator for 6-8 weeks.
Step 4: Planting the Seeds
Fill seedling pots with a well-draining potting mix. Place the stratified seeds about an inch deep in the soil and cover them lightly. Water the pots thoroughly and place them in a warm, sunny location.
Step 5: Germination and Care
Keep the soil moist but not soggy. Germination typically takes 2-4 weeks, but the exact time may vary depending on the variety of apple. Once seedlings emerge, thin them to the strongest ones.
Step 6: Hardening Off and Transplanting
Once the seedlings are about 6 inches tall, gradually expose them to outdoor conditions for a few hours each day to harden them off. This will help them adapt to the change from indoor to outdoor conditions. After a few weeks, you can transplant the seedlings into the garden.
Step 7: Choosing a Planting Site
Apple trees require full sun and well-drained soil with a pH between 6.0 and 6.5. Choose a planting site that is sheltered from strong winds and has enough space for the tree to mature.
Step 8: Planting and Watering
Dig a hole slightly larger than the root ball of the seedling. Plant the seedling so that the graft union (the swollen area where the rootstock and scion were joined) is about 2 inches above the soil surface. Fill the hole with soil and water thoroughly.
Step 9: Mulching and Fertilization
Apply a layer of organic mulch around the base of the tree to conserve moisture, suppress weeds, and regulate soil temperature. Provide supplemental fertilizer in spring and fall using a balanced fertilizer formulated for trees.
Step 10: Pruning and Training
Apple trees require regular pruning to maintain a strong, balanced structure and encourage fruiting. Start pruning young trees to develop a central leader and scaffold branches. As the tree matures, continue pruning to remove dead, diseased, or crossing branches.
Step 11: Pest and Disease Control
Monitor your apple trees for signs of pests and diseases, such as apple scab, apple borers, and apple mites. Use organic pest control methods whenever possible, such as insecticidal soap or neem oil.
Step 12: Patience and Enjoyment
Growing apple trees from seeds is a long-term commitment. It may take several years for young trees to bear fruit, and the apples may not be identical to the parent tree. However, the satisfaction of cultivating your own apple trees and enjoying the fruits of your labor will be well worth the wait.