Growing orchids in water-filled pots can be a unique and effective method, particularly for certain types of orchids. Here’s a step-by-step guide on how to grow orchids in water-filled pots for extended bloom and durability:
Materials Needed:
- Orchid plants suitable for water culture (e.g., Phalaenopsis or Vanda orchids).
- Clear pots or containers with drainage holes.
- Water-soluble orchid fertilizer.
- Distilled or rainwater.
- A well-ventilated and bright location.
Procedure:
- Select Suitable Orchids:
- Not all orchids are suitable for water culture. Phalaenopsis and Vanda orchids are commonly used for this method. Choose healthy plants with strong root systems.
- Choose Clear Pots:
- Clear pots or containers are essential for water culture as they allow you to monitor the health of the roots. Ensure the pots have adequate drainage holes.
- Remove Existing Potting Medium:
- Carefully remove the orchid from its current pot and gently shake off or rinse away the existing potting medium, such as bark or moss. Be cautious not to damage the roots.
- Inspect and Trim Roots:
- Trim any dead or rotting roots with sterile scissors or pruning shears. Healthy, white or green roots are suitable for water culture.
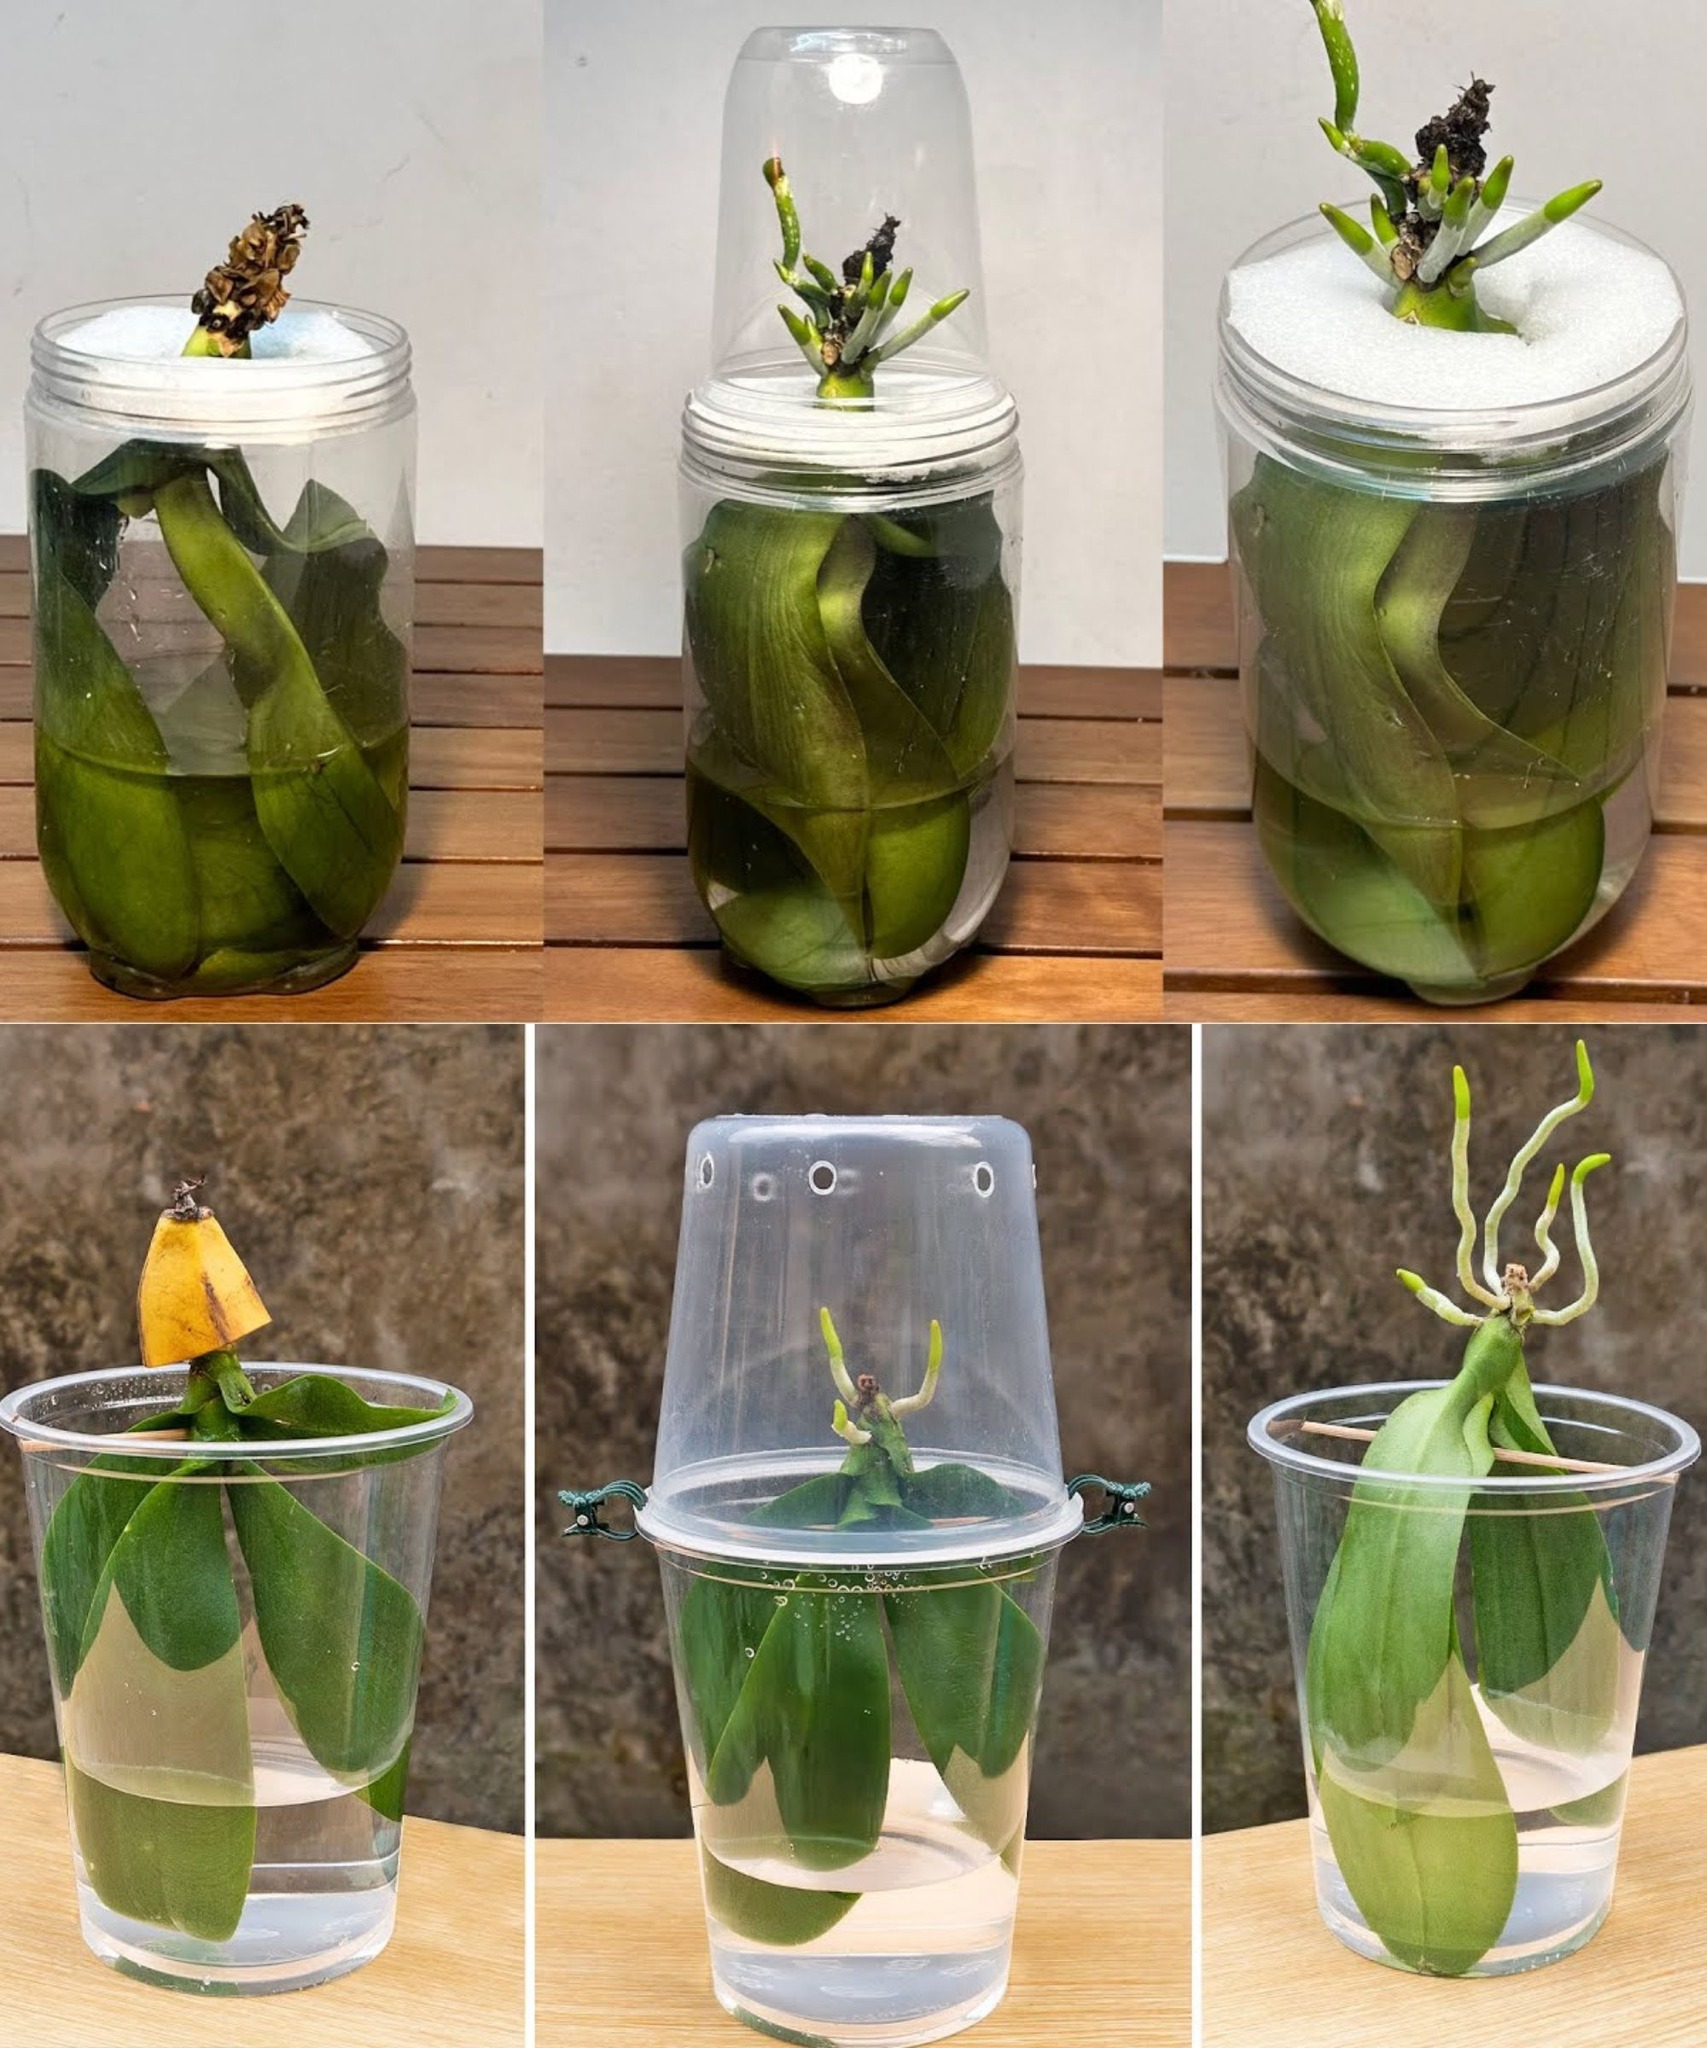
- Place Orchid in Clear Pot:
- Set the orchid in the clear pot, ensuring the roots are spread out evenly. Adjust the orchid’s height in the pot so that the base of the leaves is just above the rim.
- Fill the Pot with Water:
- Pour distilled or rainwater into the pot until the roots are submerged but not covering the base of the leaves. Use a water-soluble orchid fertilizer at half the recommended strength.
- Choose the Right Location:
- Place the water-filled pot in a well-ventilated area with bright, indirect light. Avoid direct sunlight, as it may heat the water excessively.
- Monitor Water Level:
- Check the water level regularly to ensure that the roots remain submerged. Top off with water as needed and change the water every 7-10 days to prevent stagnation.
- Fertilize Regularly:
- Use a water-soluble orchid fertilizer at half the recommended strength. Fertilize the orchid every 2-4 weeks during the growing season.
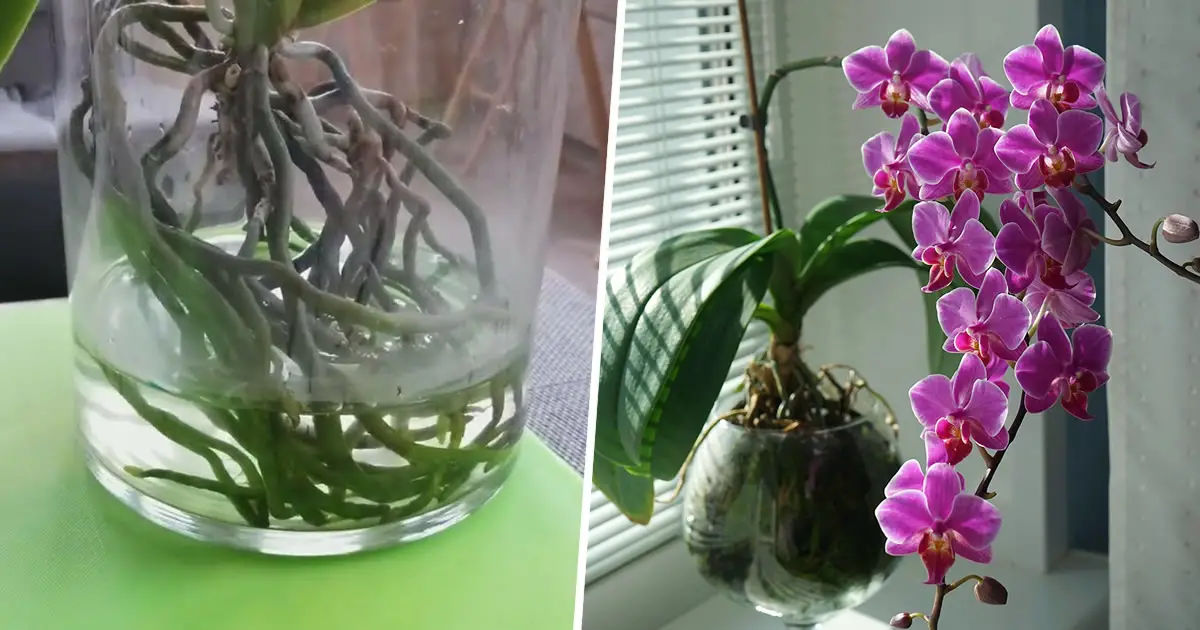
- Watch for Signs of Health:
- Monitor the health of the orchid by observing root color and leaf condition. Healthy roots should be firm and green or white. The orchid should continue to produce new leaves and flowers.
Tips:
- Keep the water level consistent, avoiding extreme fluctuations.
- If the water becomes cloudy, change it immediately to prevent root rot.
- Be patient, as orchids may take some time to adjust to the water culture method.
Growing orchids in water-filled pots can be a fascinating and rewarding experience. It provides a different approach to orchid cultivation and allows you to appreciate the beauty of the roots. Keep a close eye on your orchids, and you may enjoy extended bloom and durability with this unique growing method.