Colorful, varied and easy to grow, orchids are very popular flowering plants. They bring a tropical touch to our interiors, and brighten them up with their bright colors. Did you know that you can propagate your plant from a leaf? We tell you more in this article.
Can you take cuttings from an orchid leaf?
How to take cuttings from an orchid from a leaf?
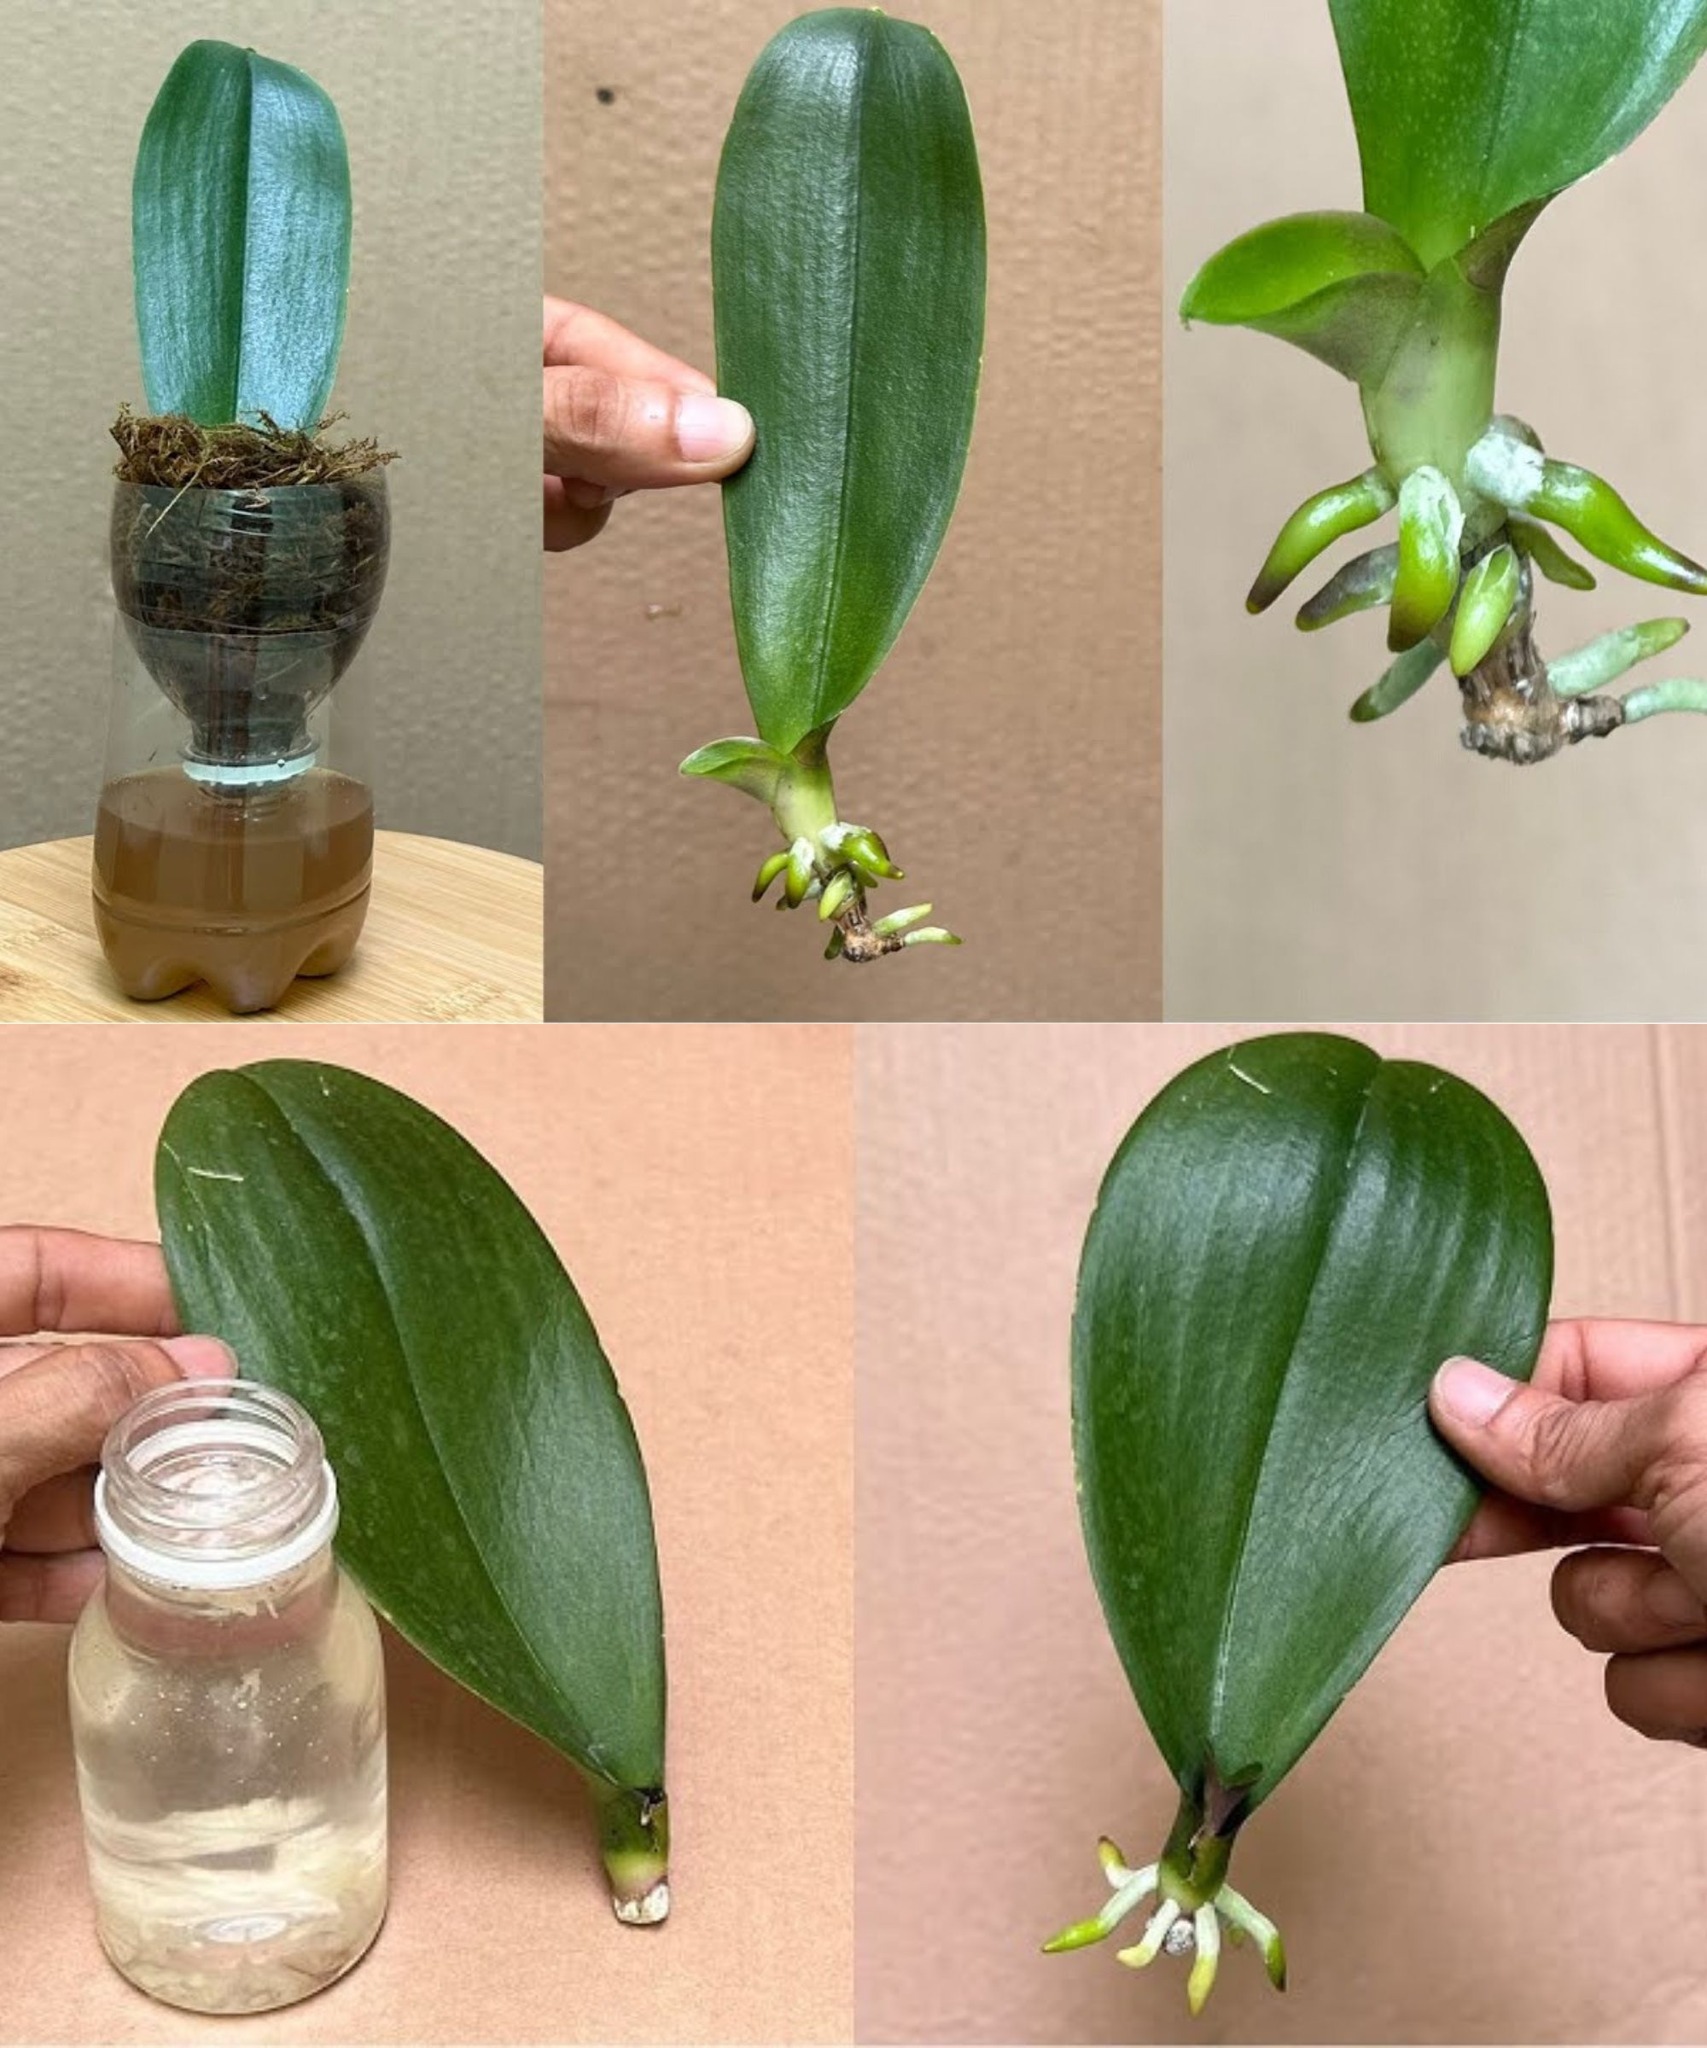
Before attempting to propagate your orchid using a leaf, be aware that this is a lengthy and intricate process. It can take a year or even longer for roots to develop! To propagate your orchid from a leaf cutting, here are the steps you should follow:
1. Select a mature, healthy orchid and carefully cut a leaf along with a small portion of the stem. Use clean, sterilized, and sharp scissors or pruning shears for this task.
2. Allow the cutting to dry out in the air for about 8 hours.
3. Apply a small amount of rooting hormone to the cut end of your orchid cutting to encourage root growth.
4. Prepare a solution by dissolving activated charcoal in water. Activated charcoal acts as an antibacterial agent that supports the growth of beneficial bacteria for your plant’s root system and also serves as an antifungal to protect against diseases.
5. Submerge the leaf and stem piece in the charcoal solution.
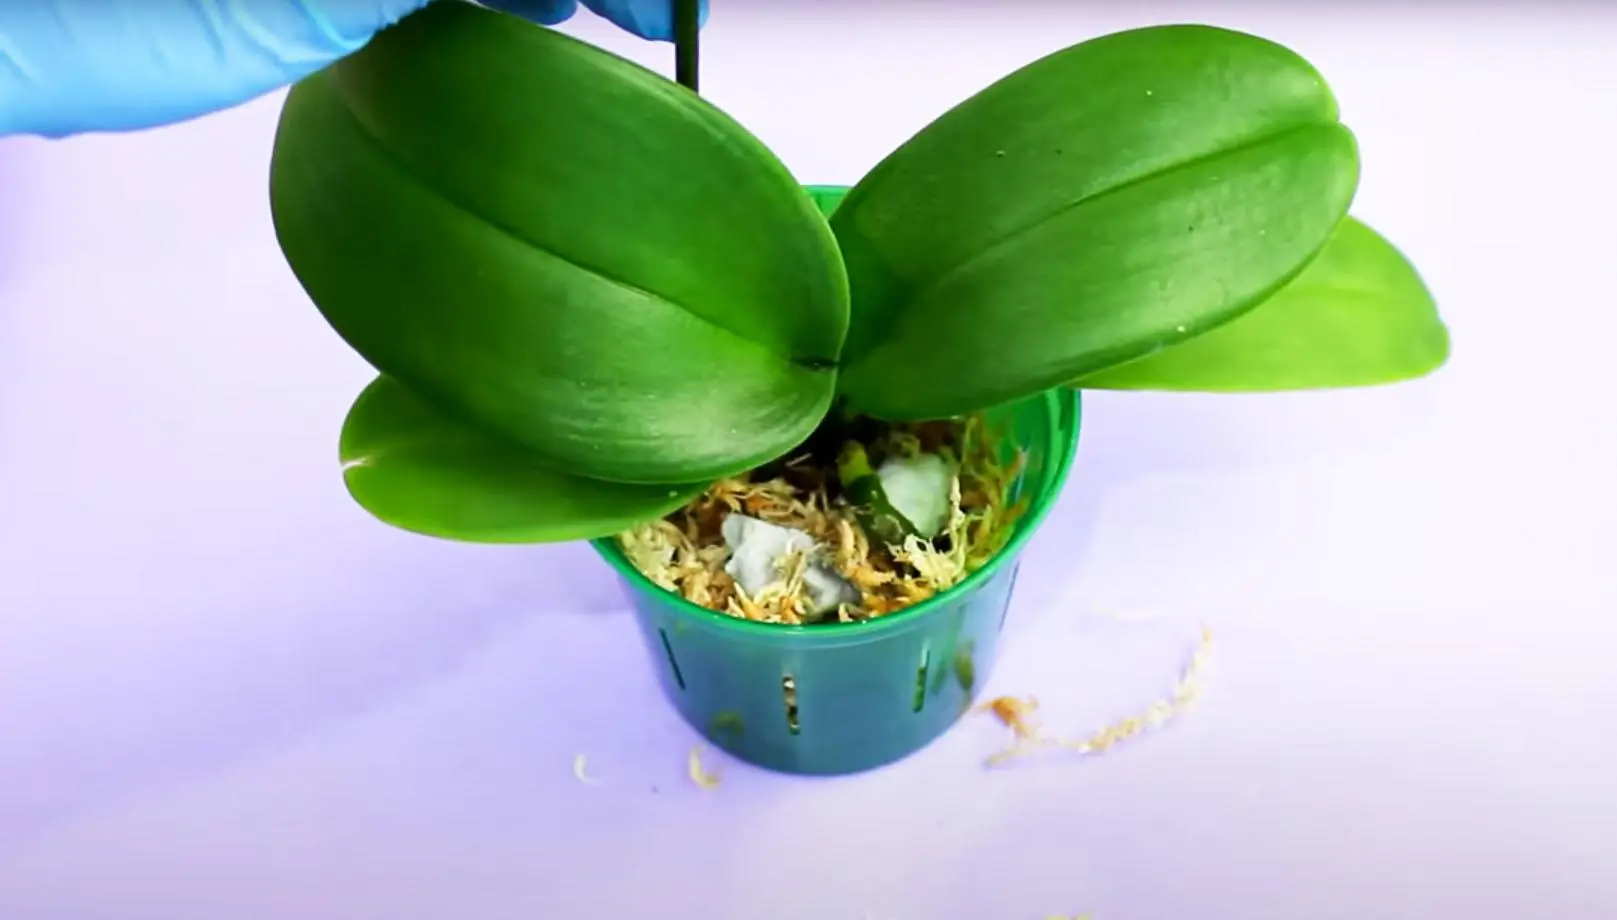
6. Now you’re ready to plant your cutting in soil. Before doing so, ensure that the soil is free from mold and decomposing plant material to prevent contamination.
The rooting agent, a product for successful orchid propagation
The application of a rooting agent is a crucial step in ensuring the success of your cuttings. Rooting agents act as stimulants that encourage the cuttings to establish a robust and healthy root system. If you prefer to avoid synthetic chemicals, you can create your own natural and environmentally friendly rooting agent.
Lentils are an excellent choice for this purpose because they contain natural plant hormones, such as auxin, which promote healthy root development. To make your own rooting agent, you can follow these steps, as recommended by Henri Morgan, an agronomist and science editor at TheGardenStyle.com, a website dedicated to gardening and agriculture:
1. Soak 100 grams of lentils in one liter of water.
2. Cover the container and set it aside for a few hours.
3. Stir the mixture, then strain the water into another container and keep it in the refrigerator.
4. Cover the lentils with a towel and place them in a dark spot overnight.
5. The next day, briefly soak the lentils in the water you set aside.
6. Strain the water again, save it, and cover the lentils to allow them to continue germinating. You’ll want to moisten the lentils daily.
7. Continue this daily soaking until the lentils have sprouted.
8. Once sprouted, blend the lentils with the stored water until you have a smooth paste.
9. Strain the paste through a sieve to extract the liquid.
10. Pour the liquid into a bottle and add 10 cups of water to dilute the concentrated mixture.
11. Now, you can dip your cuttings into this homemade rooting solution before planting them. This solution can be kept for up to 15 days in the refrigerator.
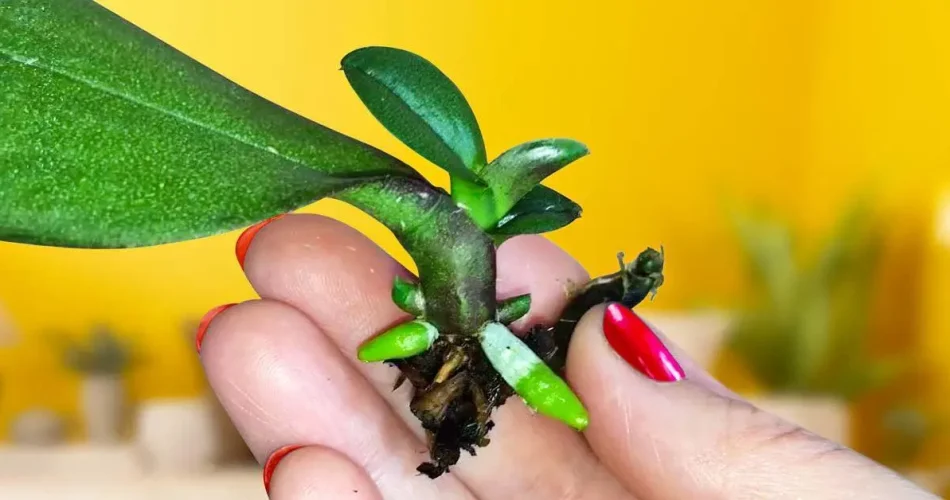
Keikis or suckers to multiply phalaenopsis orchids and obtain new shoots
Certain orchid types, such as phalaenopsis and dendrobium, are known to produce keikis, a term derived from Hawaiian meaning “baby.” These offshoots emerge on the spent flower spikes of the orchid. Specifically, keikis are clusters of leaves that appear on the flower stem, beneath which aerial roots begin to form. A keiki is essentially a miniature clone of the mother plant, sprouting from its stem or base. If you notice that your orchid has begun to develop keikis, here’s what you can do, as advised by House Plant, a website dedicated to indoor plant care:
– Wait for the keiki to grow additional leaves and establish a strong root system before taking any action.
– Once the keiki is sufficiently mature, carefully detach it from the mother plant using a sterile knife or pruning shears.
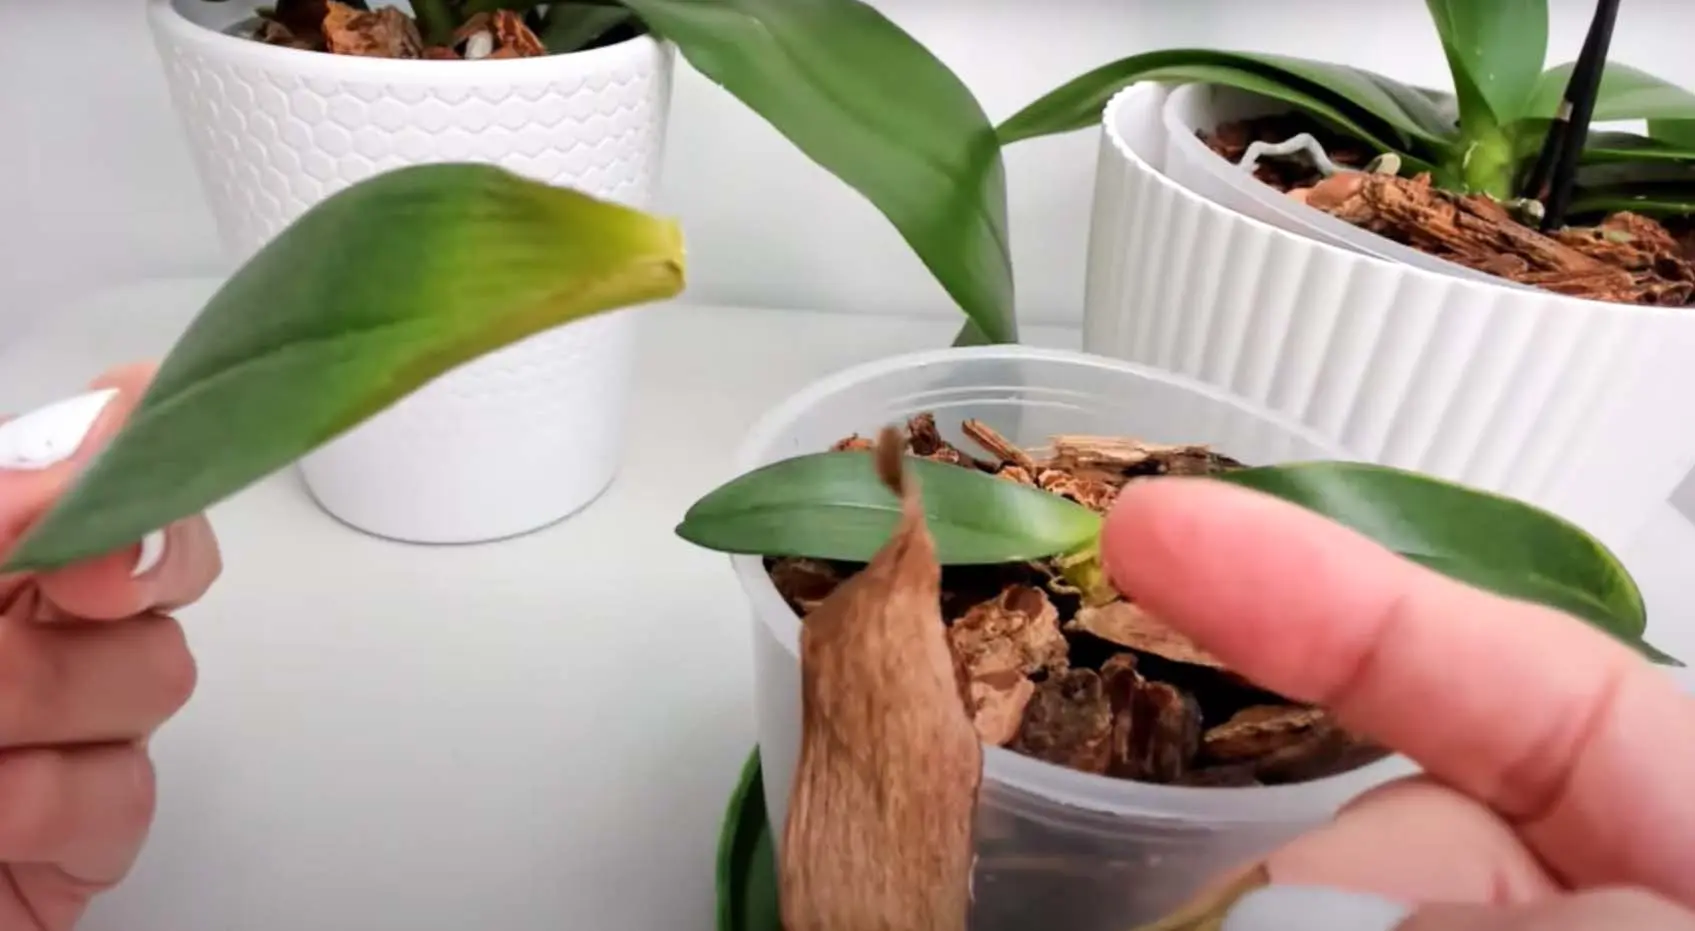
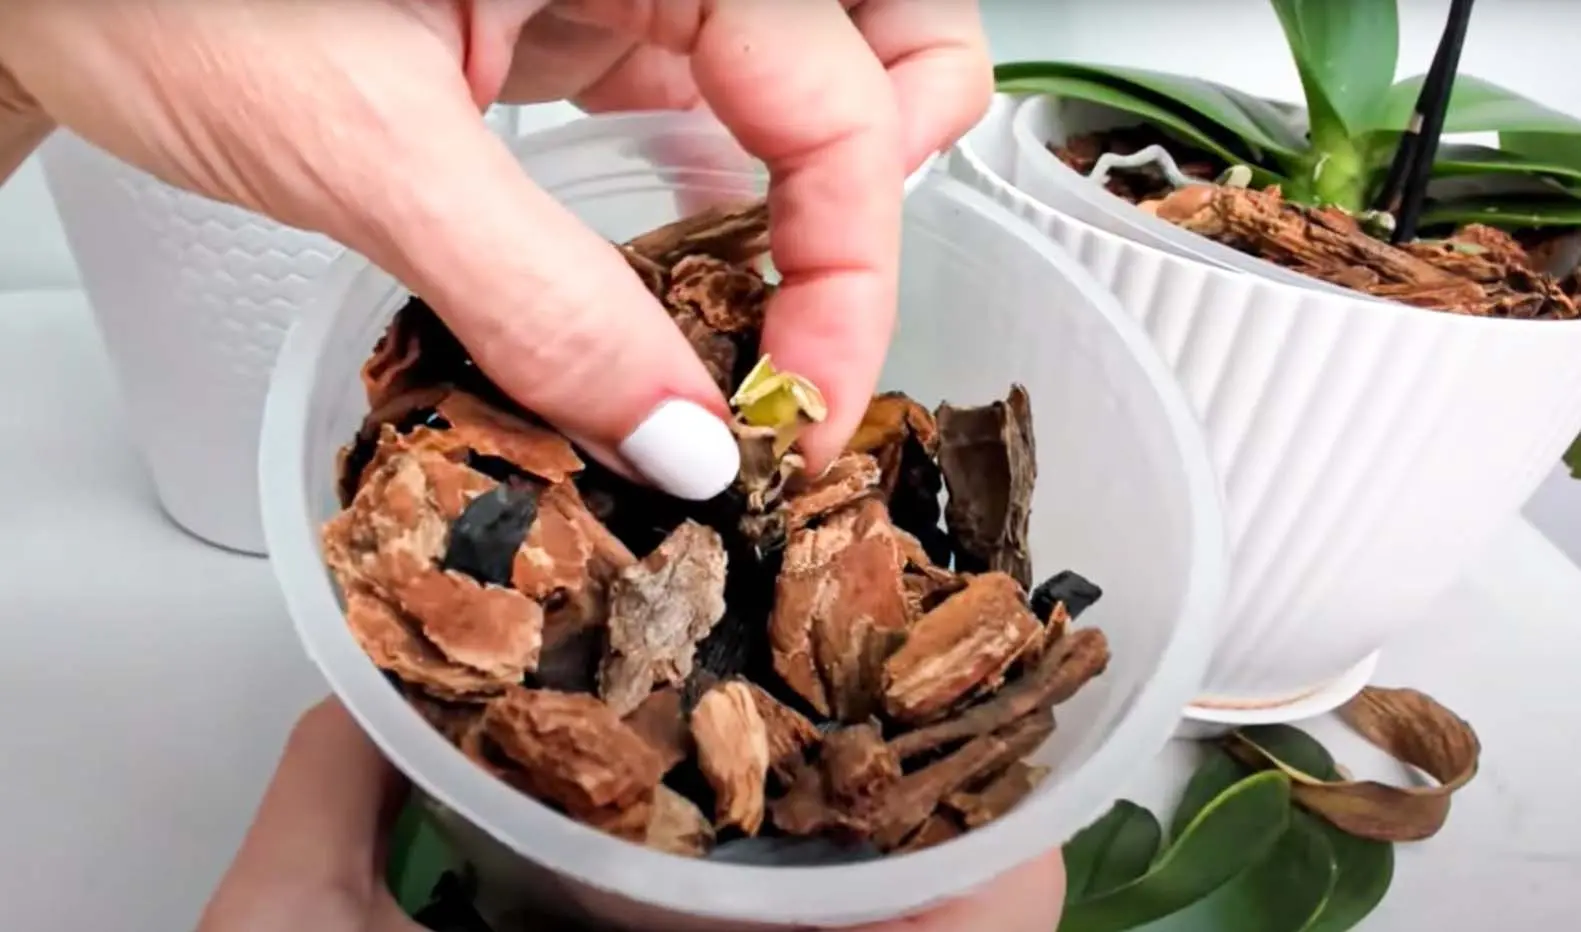
– Plant the keiki in a new pot, using the same type of growing medium that the mother plant is in.
– With its own root system already in place, the keiki will continue to grow as normal. Just water the new plant and position it in a warm location.
Why put baking soda on orchids?
Baking soda’s myriad uses extend beyond household cleaning—it’s also a boon for gardeners seeking to enhance their greenery. As a natural fertilizer, baking soda can greatly benefit your orchids. Simply dissolve one tablespoon of baking soda in one quart of lukewarm water. Water your orchid with this solution at the base to encourage vibrant blooms. This homemade fertilizer can help promote your orchid’s flowering, leading to a display of beautiful, colorful blossoms.
However, exercise caution and avoid applying baking soda directly to the orchids or the growing medium, as its salt content could potentially damage the plant.
Additional tip: Baking soda isn’t the only natural fertilizer you can use for your orchids. Consider these alternatives:
– Coffee grounds;
– Banana peels;
– Eggshells;
– Water from boiling starchy foods like potatoes or pasta.
By propagating your orchid through cuttings, you can expand your collection and enjoy an abundance of these elegant plants, ensuring you’ll never be short of orchid beauty in your home.