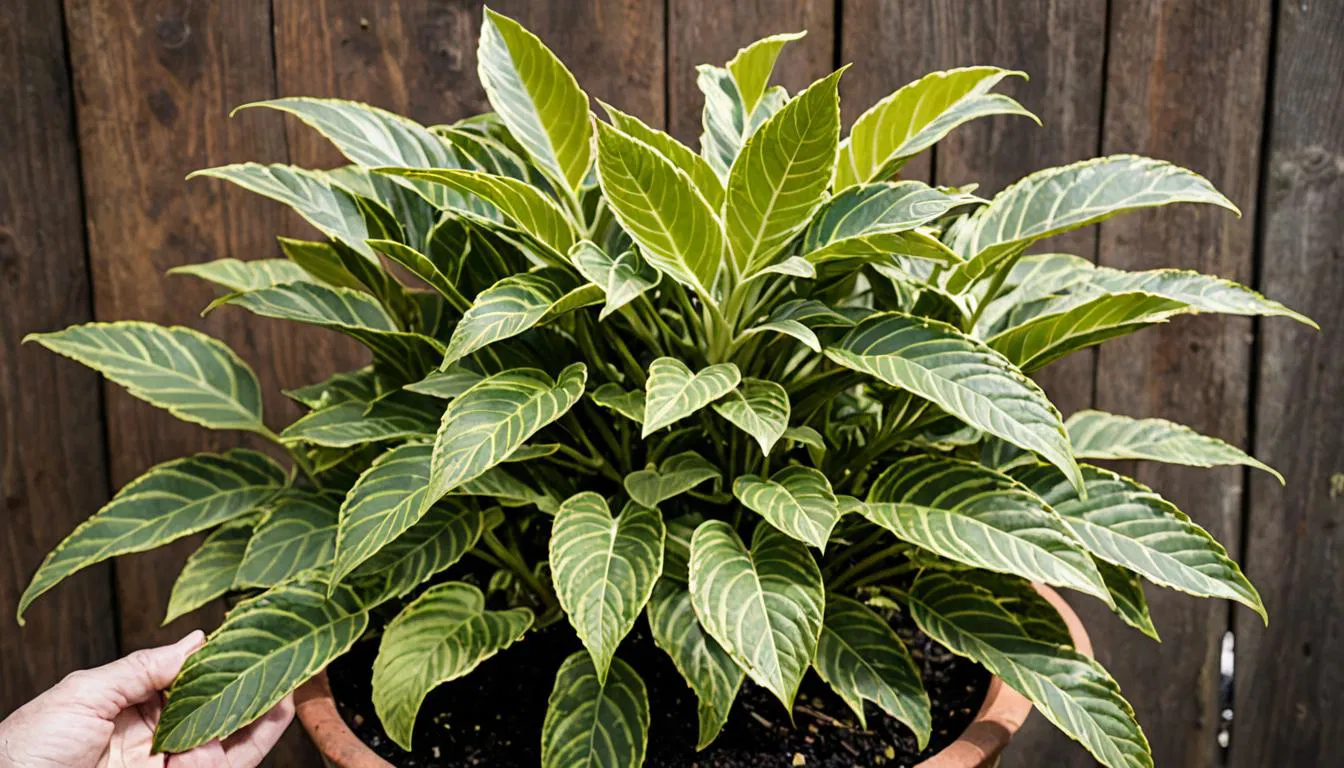
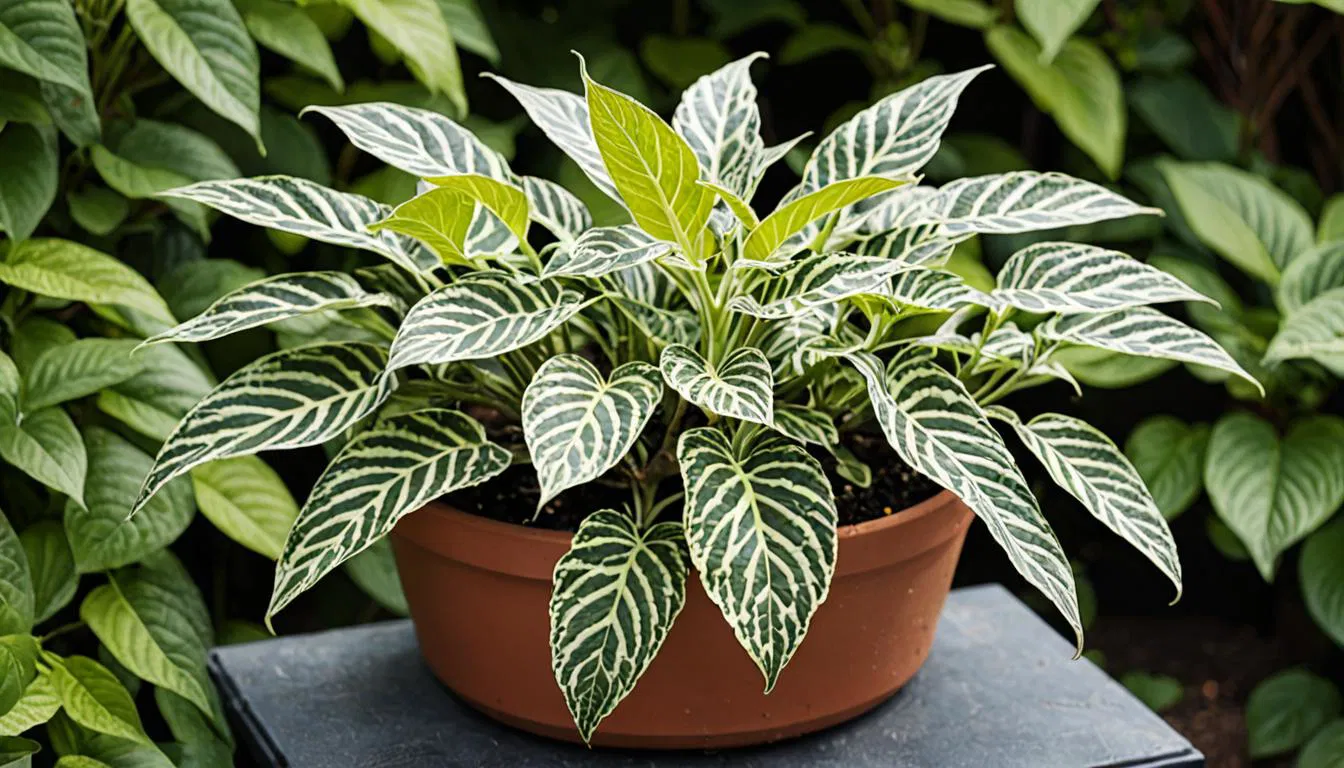
Pruning birkin plants! These beautiful, low-maintenance plants, also known as Philodendron ‘Birkin’, require regular pruning to maintain their shape, promote healthy growth, and encourage new leaves. Here’s a step-by-step guide on how to prune your birkin plant:
Why Prune Birkin Plants?
Pruning birkin plants serves several purposes:
- Maintains shape: Pruning helps to maintain the plant’s compact, bushy shape and prevents it from becoming leggy.
- Promotes healthy growth: Pruning encourages the plant to produce new growth, which can lead to a fuller, more vibrant plant.
- Encourages new leaves: Pruning can help to promote new leaf growth, which can lead to a more attractive and interesting plant.
When to Prune Birkin Plants
The best time to prune birkin plants depends on the plant’s growth stage:
- Spring pruning: Prune your birkin plant in the spring, when new growth begins. This helps to control the plant’s height and promotes bushy growth.
- After new leaves have grown: Prune your birkin plant after new leaves have grown, to encourage new growth and promote a fuller plant.
How to Prune Birkin Plants
Here’s a step-by-step guide on how to prune your birkin plant:
- Remove dead or dying leaves: Remove any dead or dying leaves from the plant, cutting them off at the base of the stem.
- Cut back leggy stems: Cut back any leggy stems to about half their height, making a clean cut just above a node (the point where a leaf meets the stem).
- Pinch off tips: Pinch off the tips of the stems to encourage branching and promote a fuller plant.
- Thin out stems: Thin out the stems to about 6-8 inches apart, removing any weak or spindly stems.
- Cut back to a node: Cut back any stems to a node, making a clean cut just above the node.
Pruning Tips
Here are some additional tips to keep in mind when pruning your birkin plant:
- Use clean and sharp tools: Use clean and sharp pruning tools to prevent spreading diseases.
- Make clean cuts: Make clean cuts just above a node to prevent damaging the plant.
- Don’t over-prune: Don’t over-prune your birkin plant, as this can stress the plant and lead to disease or pest problems.
- Monitor for pests and diseases: Monitor your birkin plant for pests and diseases after pruning, and take action if necessary.
Special Pruning Considerations
Birkin plants have a few special pruning considerations:
- Prune for shape: Prune your birkin plant to maintain its compact, bushy shape.
- Prune for size: Prune your birkin plant to control its size, especially if it’s becoming too leggy.
- Prune for new leaves: Prune your birkin plant to encourage new leaf growth, especially if you notice the plant is producing fewer new leaves.
Pruning for Propagation
If you want to propagate your birkin plant, you can use the pruned stems to create new plants. Here’s how:
- Take 4-6 inch stem cuttings: Take 4-6 inch stem cuttings from the pruned stems, making sure each cutting has at least two nodes.
- Remove lower leaves: Remove the lower leaves from the cutting, leaving only two or three sets of leaves at the top.
- Plant the cutting: Plant the cutting in a pot or tray filled with a well-draining potting mix, and water thoroughly.
- Keep the soil moist: Keep the soil moist and warm, and provide bright, indirect light. Roots should develop within 1-2 weeks.
By following these steps and tips, you’ll be able to prune your birkin plant like a pro and enjoy a healthy, vibrant plant with plenty of beautiful leaves.