Reviving a Dying Orchid: A Rescue Guide
Although orchids are commonly viewed as fragile flowers requiring continual attention, they harbor unexpected strength and resilience. In moments of adversity, when an orchid seems to be withering with limp leaves and lacking blossoms, there is optimism. Instead of abandoning it in frustration, uncover the measures to salvage and rejuvenate a struggling orchid, infusing new vitality into its wilted presence.
The Orchid’s Beauty and Challenges
Frequently perceived as a runway model at a fashion show, the orchid brings its charm into our homes, enriching various spaces with its captivating beauty. However, impulsive actions or moments of distraction can result in distress, causing the orchid to shed its flowers and eventually succumb to mistakes.
When All Appears Lost
The somber destiny of an orchid, with every flower fallen, leaves desiccated, and roots afflicted by rot, paints a disheartening tableau. In such dire circumstances, the options may seem constrained.
Signs of Hope: One Green Leaf Matters
Nevertheless, if even a lone green leaf persists amidst the seemingly lifeless plant, all is not forfeited. A glimmer of hope emerges, suggesting the potential for recovery with a bit of attention and care.
Intervening to Salvage the Orchid
Confronted with an orchid sporting only one or two remaining leaves, immediate intervention becomes imperative to rescue its fading vitality. While it’s natural for orchids to shed their flowers seasonally, the abnormality arises when leaves accompany the blooms in withering away.
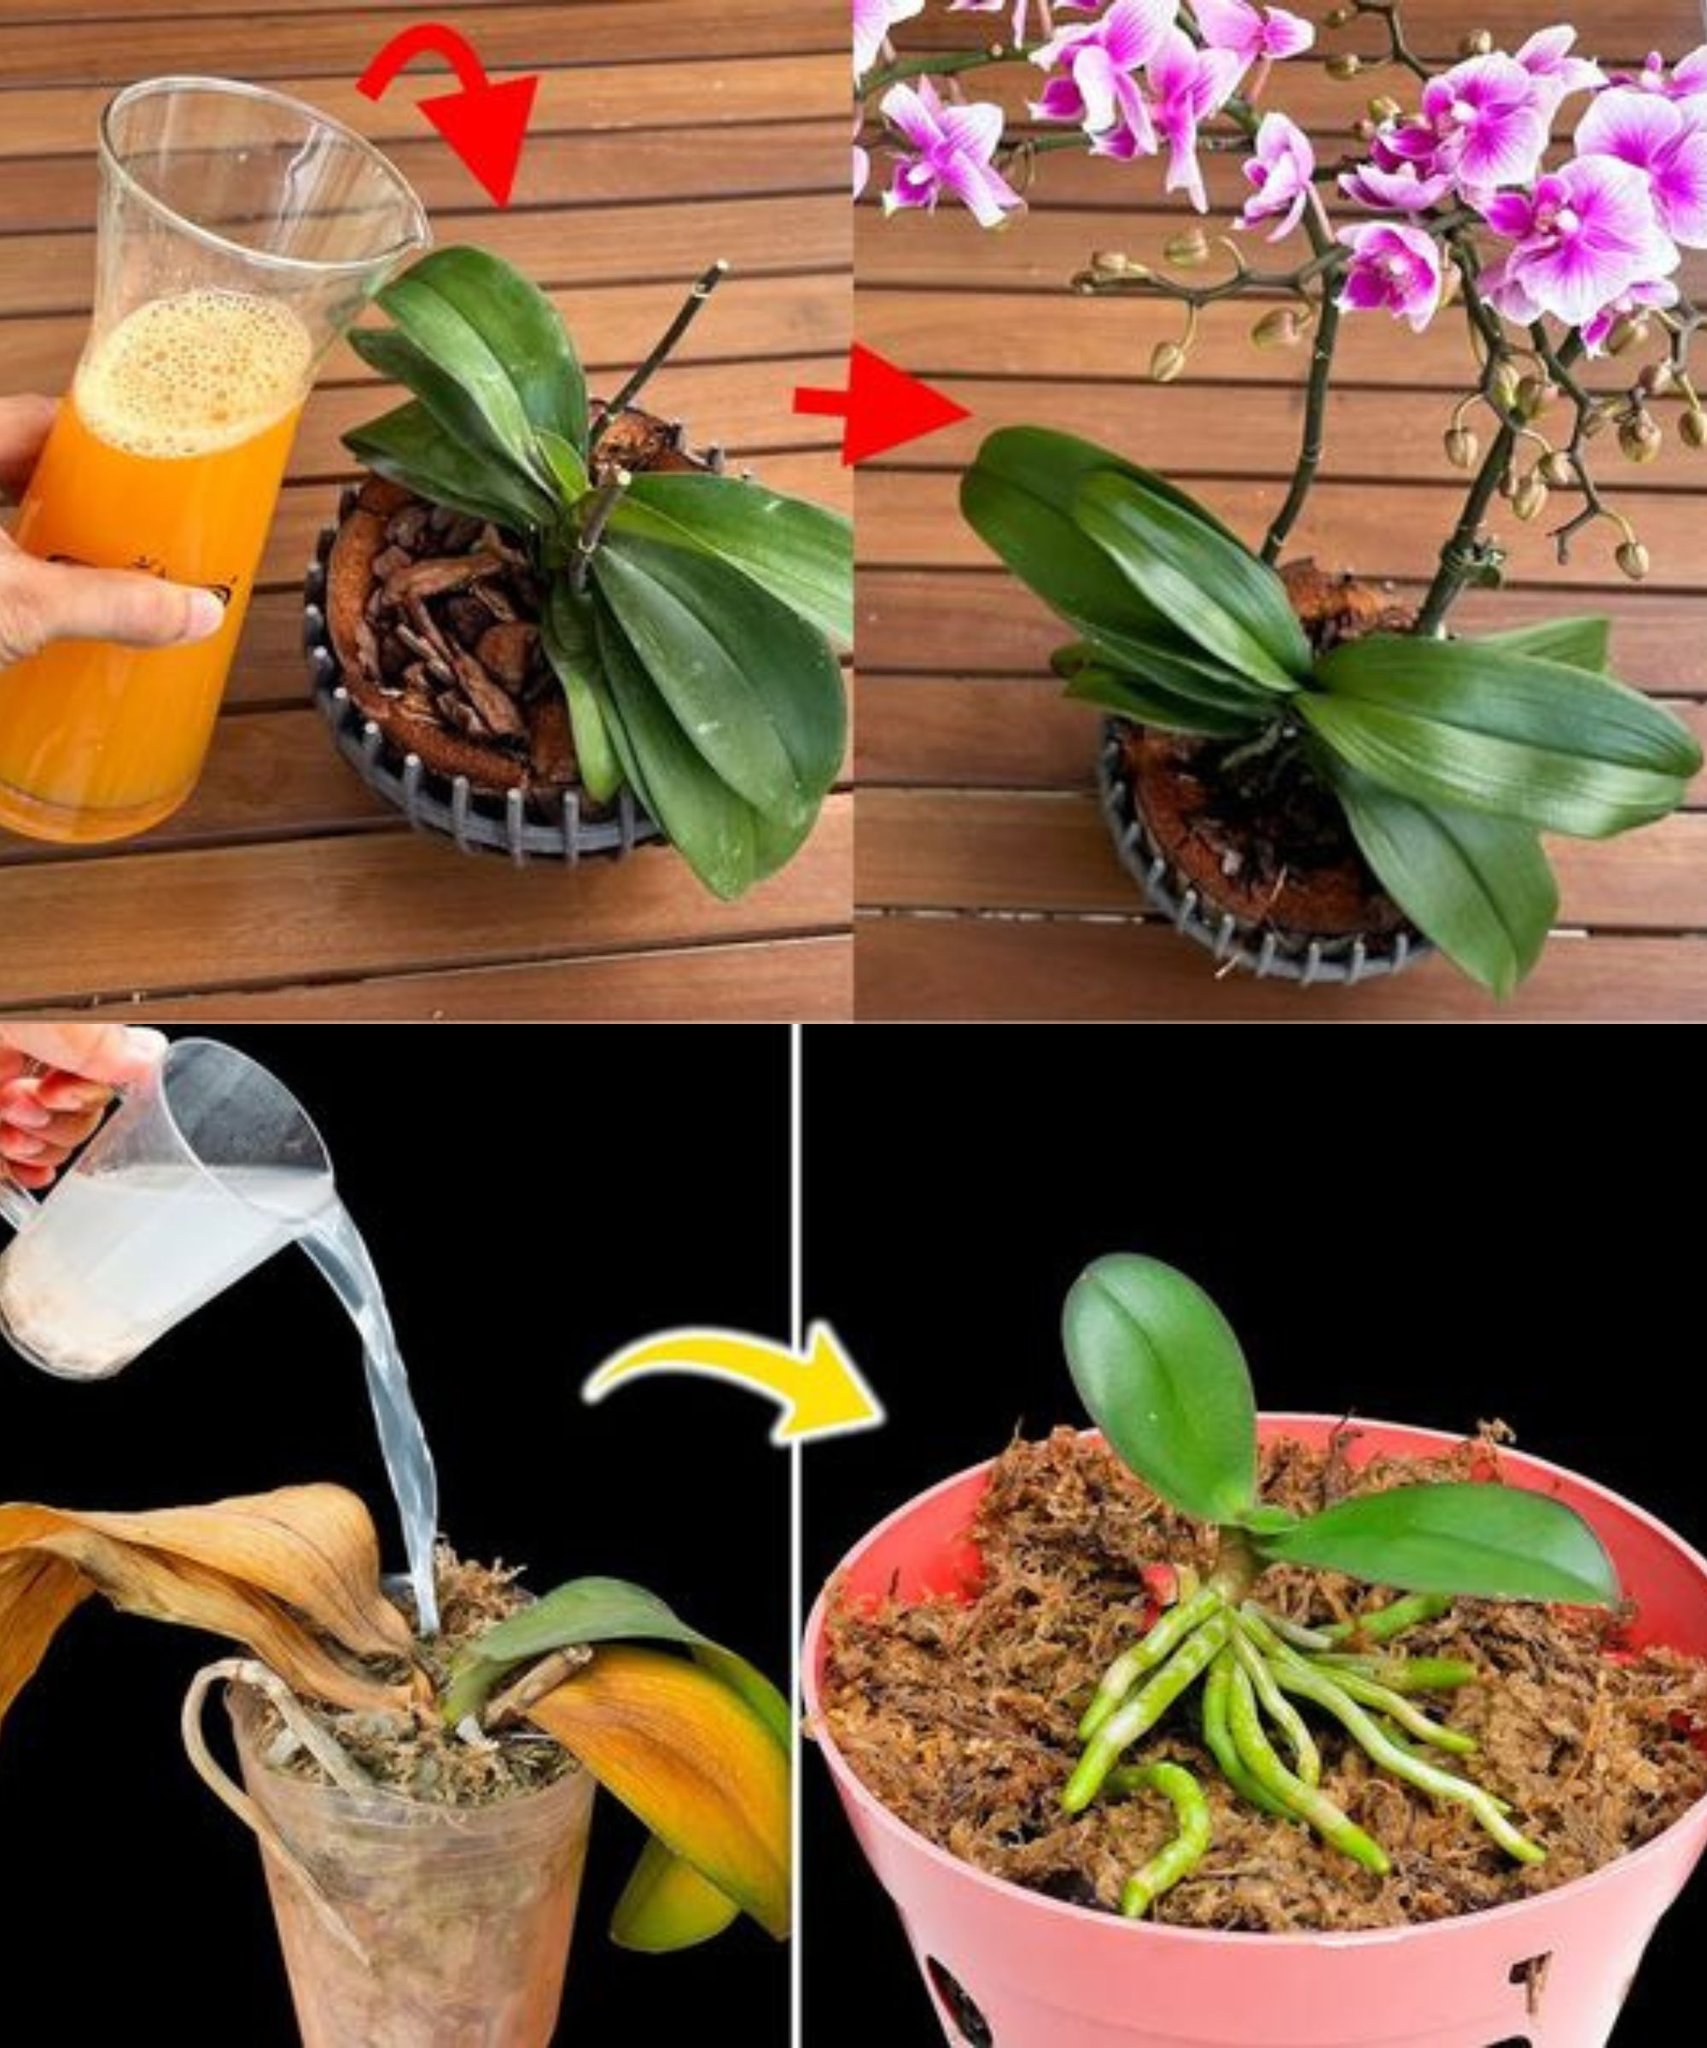
Revitalization Process: A Step-by-Step Approach
1. **Unearthing the Orchid:** Start by liberating the orchid from its pot, meticulously removing all the soil.
2. **Assessing Aerial Roots:** Examine the aerial roots, pinpointing the dead portions while preserving any signs of life, especially in the form of a green leaf.
3. **Trimming and Cleaning:** Use sanitized scissors to trim away the remnants of dead roots and dry segments, keeping the still viable portions intact.
4. **Creating a Nurturing Environment:** Prepare a transparent glass with a solution consisting of 4 parts water and 1 part hydrogen peroxide. This solution not only ensures a threat-free environment but also accelerates root development. Ensure the water covers only the roots, avoiding contact with the leaves to prevent rot.
5. **Submersion Period:** Immerse the orchid in the water solution for approximately 40 days, observing the gradual recovery of roots and the potential emergence of new ones. Simultaneously, the leaves regain their vitality.
6. **Repotting the Orchid:** Acquire a new pot and fresh soil. Place a layer of soil at the pot’s base, position the orchid with the soil level beneath the leaves, and water it. Over the ensuing months, the orchid will progressively reclaim its vitality and beauty.
Embark on the journey of orchid revival, nurturing its resilience, and witness the resurgence of its beauty through these meticulously orchestrated steps.