Revitalize your orchid with this nursery method, bringing it back to life with just a few simple steps and ensuring its longevity.
Orchid Rejuvenation Method
Though orchids are generally low-maintenance, they necessitate particular care. Foster your orchid using a technique employed by nursery specialists for rejuvenation, encouraging accelerated growth with robust roots. Keep reading to uncover more.
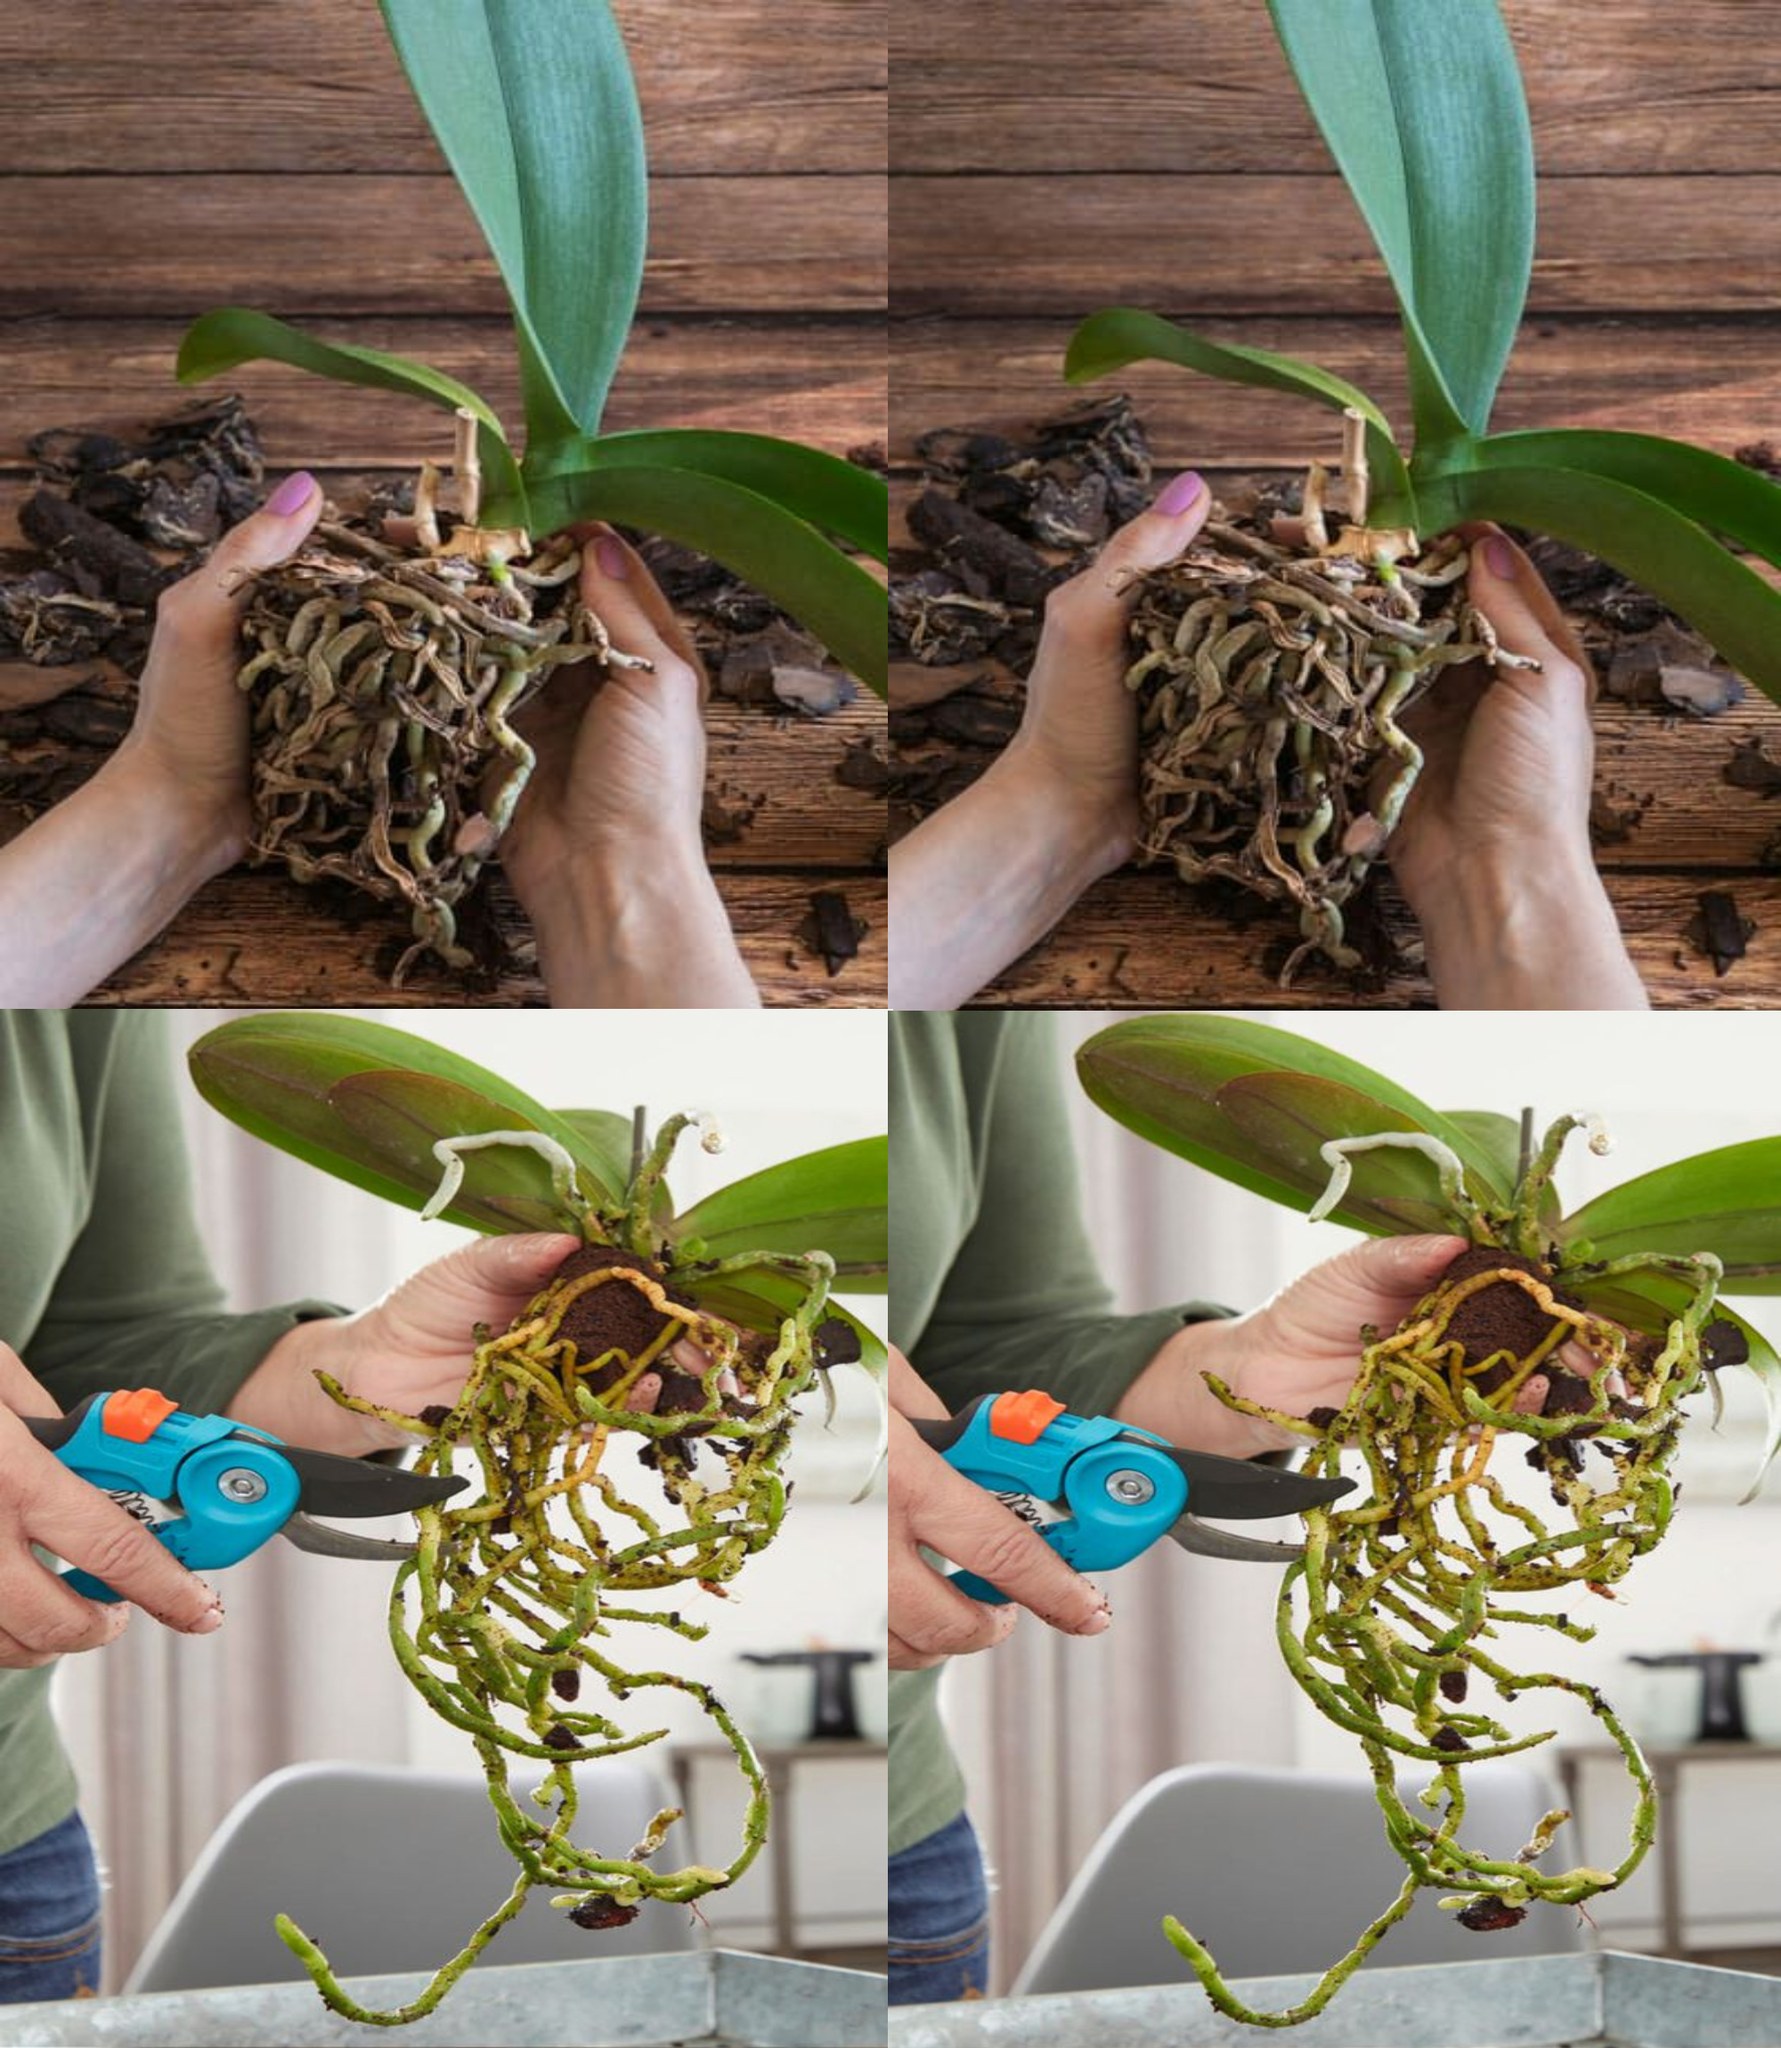
As orchids mature, especially those featuring numerous aerial roots extending from the ground, the process of rejuvenation becomes imperative. To safeguard the plant’s overall well-being, commence by eliminating all leaves with aerial roots or those positioned beneath them. Subsequently, transfer the orchid into a new pot. This action not only quickens and facilitates healthy plant growth but involves additional steps.
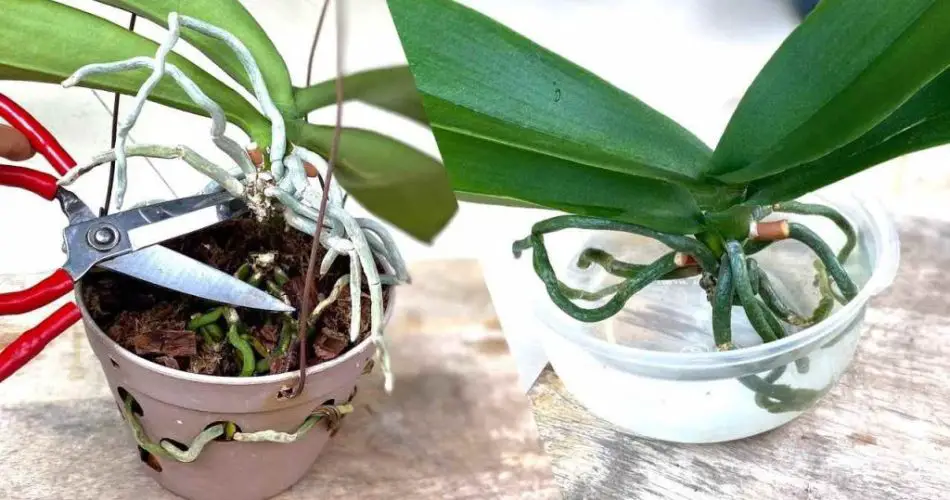
Following the removal of leaves, sever the orchid stem at the base and sterilize the cut roots using hydrogen peroxide. Position the remaining segment in a new pot, in a warm and well-lit area, and observe its rapid regrowth. For the cut roots, adhere to these procedures:
1. Submerge the roots in a shallow plastic bowl and introduce some water.
2. Immerse bark in water for 30 minutes.
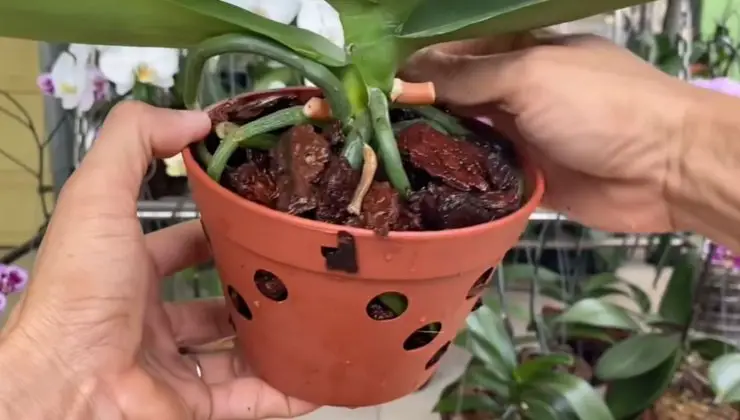
3. Extract the orchid from the water bowl and place the drained bark at the base of a new pot.
4. Arrange the plant in the pot, accommodating the roots within.
5. Envelop the entirety with bark and growing medium.
Adhering to this approach will facilitate the easy recovery of your orchid, guaranteeing proper growth. This method not only revitalizes a struggling plant but might also result in the flourishing of two orchids. Experiment with this technique on your orchid and observe the positive transformation firsthand.