Growing roses from branch cuttings can be a rewarding way to propagate new rose plants. Here’s a step-by-step guide on how to do it:
Materials Needed:
- Healthy Rose Bush: Choose a healthy, disease-free rose bush as the parent plant.
- Sharp Pruning Shears or Scissors: Ensure your cutting tools are clean and sharp.
- Rooting Hormone: To promote root development. This is optional but highly recommended.
- Potting Mix: A well-draining mix for planting the cuttings.
- Containers or Pots: Small pots or containers for planting the cuttings.
- Plastic Bags or Plastic Wrap: To create a humid environment for the cuttings.
- Misting Bottle: To keep the cuttings moist during the rooting process.
Step-by-Step Guide:
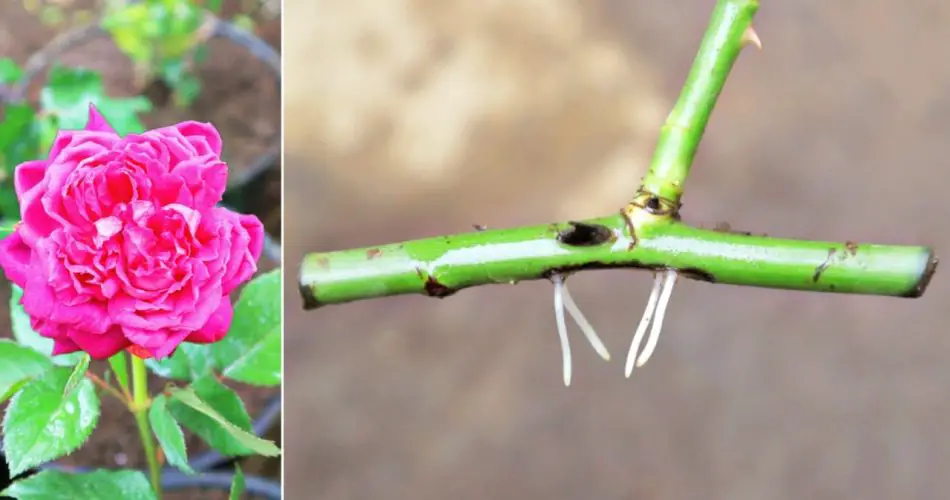
1. Selecting and Cutting the Rose Branch:
- Choose a healthy, non-flowering stem from the rose bush. Ideally, select a stem that is about the thickness of a pencil.
- Use sharp pruning shears or scissors to make a clean cut at a 45-degree angle just below a leaf node (the point where a leaf attaches to the stem).
- Aim for a cutting that is 6 to 8 inches long, with at least 2-3 sets of leaves.
2. Removing Leaves:
- Remove the leaves from the lower half of the cutting. Leave a few leaves at the top to allow for photosynthesis.
3. Applying Rooting Hormone:
- Dip the cut end of the rose cutting into rooting hormone powder. This step is optional but can significantly improve the chances of successful rooting.
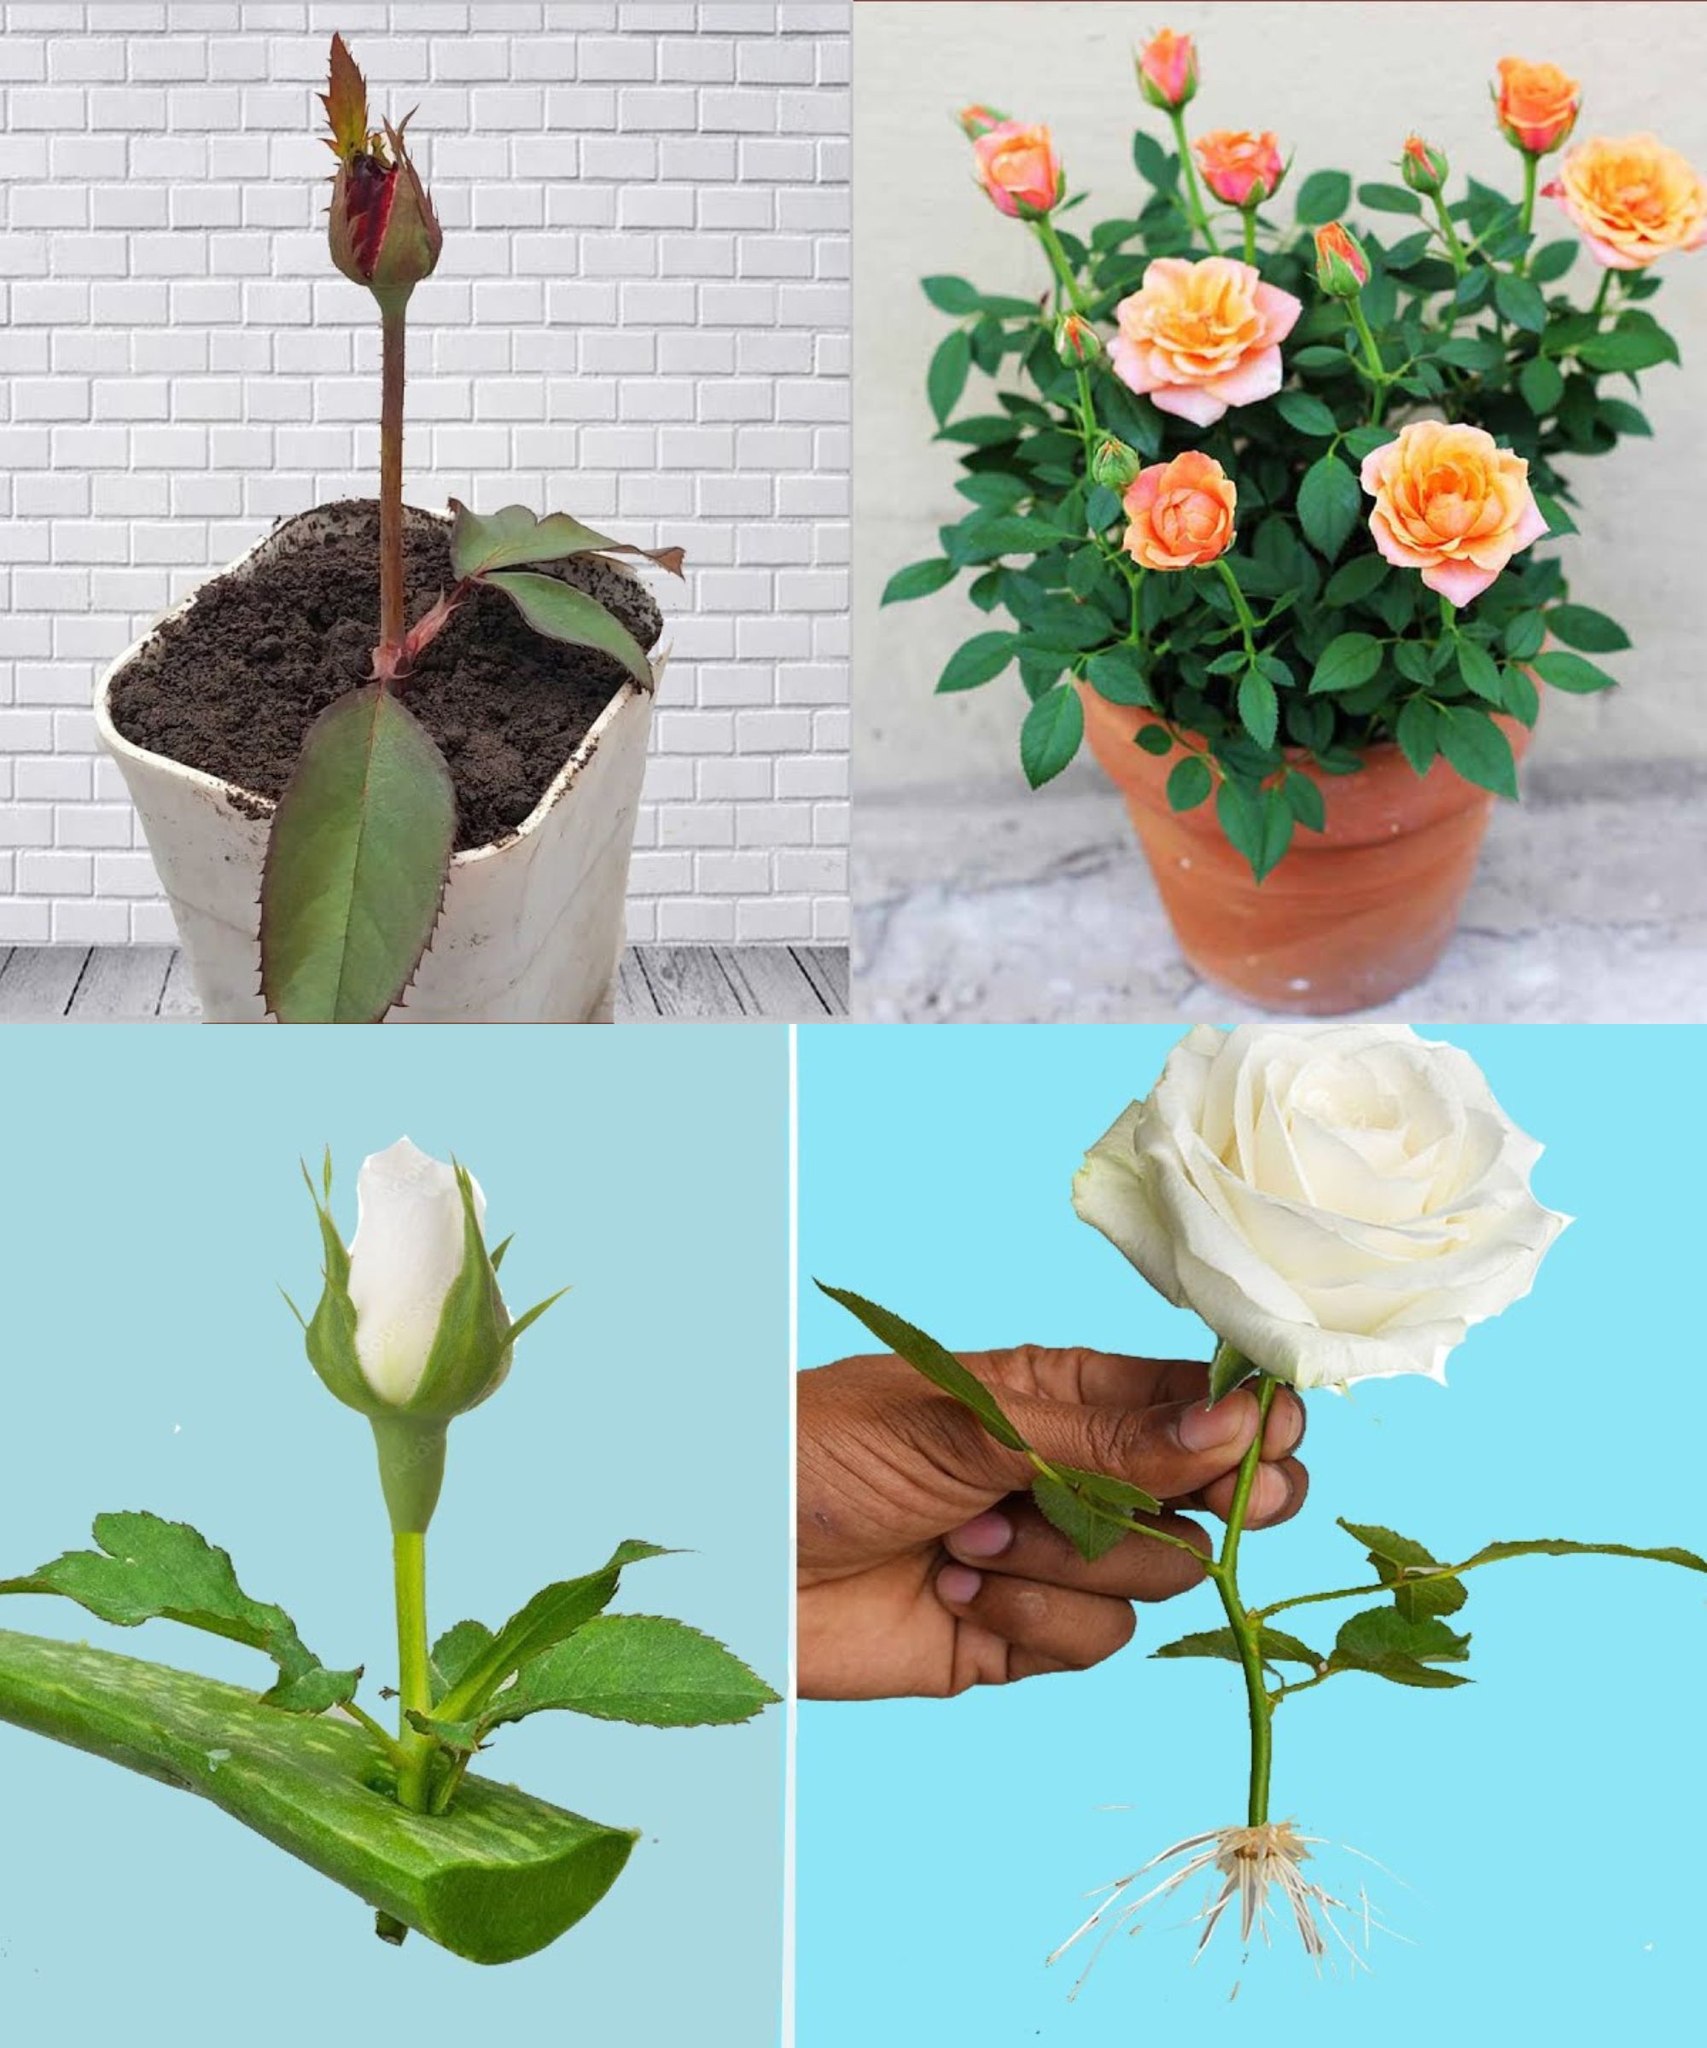
4. Planting the Cutting:
- Fill a small pot or container with well-draining potting mix.
- Make a hole in the soil using a pencil or similar tool.
- Insert the cut end of the rose cutting into the hole, and gently firm the soil around it.
5. Creating a Humid Environment:
- Place a plastic bag or plastic wrap over the cutting to create a mini greenhouse effect. This helps retain moisture and encourages rooting.
- Alternatively, you can use a plastic dome or cover the container with a clear plastic bag.
6. Providing the Right Conditions:
- Place the potted cutting in a warm, bright location with indirect sunlight.
- Keep the soil consistently moist but not waterlogged.
7. Monitoring and Transplanting:
- Check the cutting regularly for signs of root development. This may take several weeks.
- Once roots are well-established, you can transplant the cutting into a larger pot or directly into the garden.
8. Caring for New Plants:
- Gradually expose the new plant to longer periods of direct sunlight.
- Continue to water the plant regularly, and fertilize as needed.
Remember that not all cuttings will successfully root, so it’s a good idea to take several cuttings to increase your chances of success. Additionally, patience is key, as the rooting process can take several weeks. Good luck with your rose propagation!