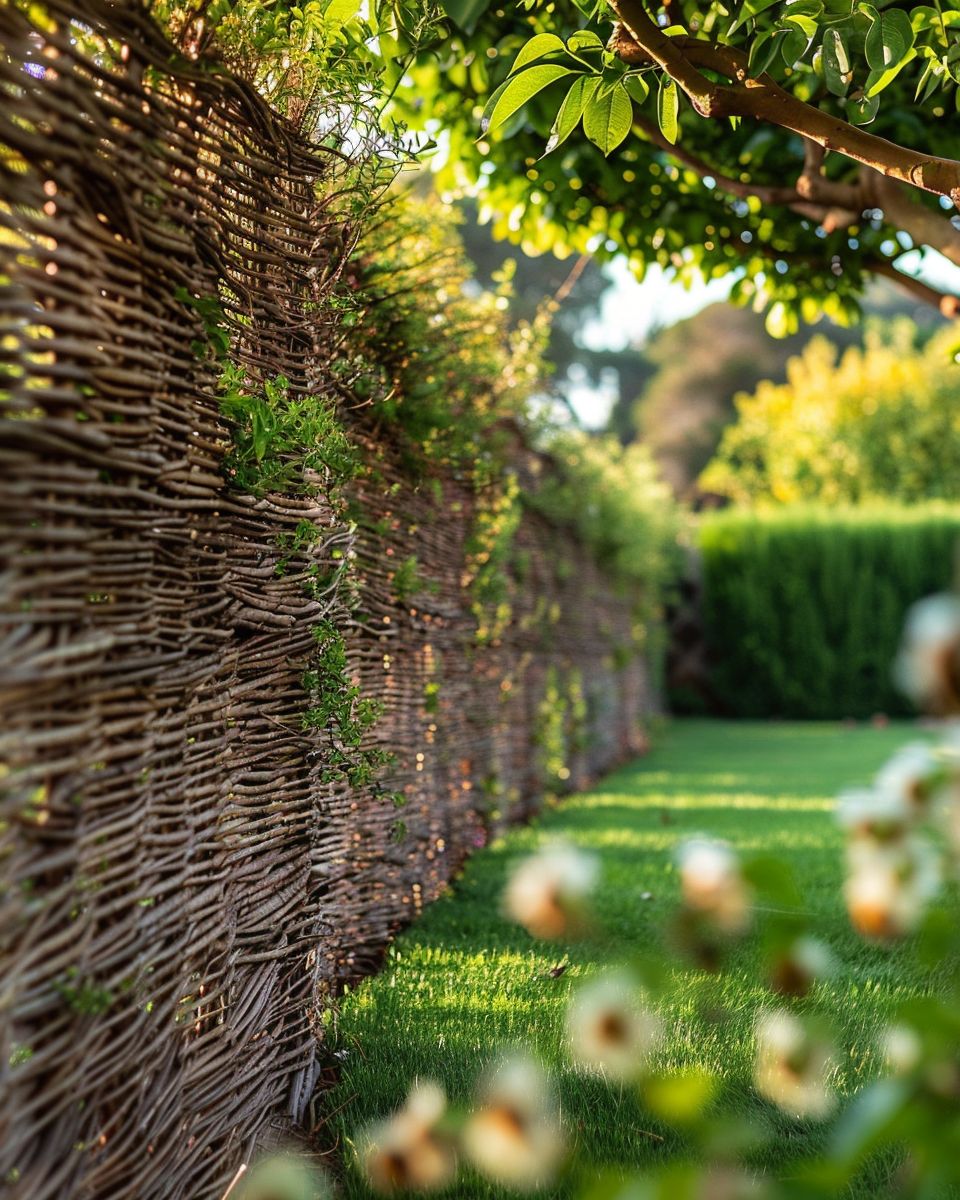
Looking for a creative way to enhance your garden? Discover how you can transform simple branches into a beautiful, rustic wattle fence with our easy, step-by-step guide!
Step-by-Step Guide to Creating a Wattle Fence
1. Gather Materials
Start with the basics by collecting flexible branches like willow or hazel. These will be woven together to form your wattle fence.
2. Prepare the Stakes
Cut sturdy stakes from hardwood branches. These should be strong enough to support the woven branches and tall enough for your desired fence height.
3. Set the Stakes
Mark the fence line and drive the stakes into the ground at regular intervals. Ensure they are evenly spaced and firmly planted.
4. Weave the Branches
Begin weaving the flexible branches between the stakes. Start at the bottom and work your way up, alternating the direction of the weave for stability.
5. Secure the Weave
Press down on each layer of woven branches to tighten the structure. This will ensure your fence is both strong and visually appealing.
6. Trim Excess Branches
Neatly trim any excess branches sticking out from the sides. This will give your wattle fence a clean, finished look.
7. Maintain Your Fence
Check periodically for any loose branches and reweave as necessary. A well-maintained wattle fence can last for years and continue to add charm to your garden.