Prepare to witness the remarkable longevity of your orchid with the revolutionary “bottle method.” Here’s a comprehensive guide on how to harness this power and keep your orchid flourishing for years to come. Embark on this journey with the tools and instructions provided, and you’ll be amazed at the transformative effect this method has on your orchid’s vitality.
To maximize the longevity of plants such as orchids, an exceptionally effective method endorsed by industry experts, including nursery professionals, can be employed. The bottle technique proves to be a highly reliable approach in extending the lifespan of your orchid. Let’s delve into the details of this method.
Bottle Method: How to Have an Orchid Plant in Great Condition
Concerning orchids, many of us are likely eager to learn the optimal care practices. Indeed, when you have orchids at home, it becomes imperative to understand how to care for them in the most suitable manner.
Nevertheless, not everyone possesses the ability to do so, resulting in the unfortunate outcome of having orchids completely deteriorate in a short span, especially when neglecting crucial tasks like watering.
Even those who meticulously devote care and attention to cultivating their indoor plants often seek innovative techniques to enhance their cultivation practices. This holds true in the context of ensuring the success of orchid plants.
Therefore, you will discover valuable information here to ensure the longevity of your orchids. This is made possible through an efficient recycling method that proves particularly beneficial, even during the flowering phase of your orchids.
Bottle method: the initial stages of the process
In this discussion, we’ll delve into a particular method and the necessary steps to reach your objective—the bottle method.
By employing the bottle method, your orchid plants will endure for an extended period without encountering any issues.
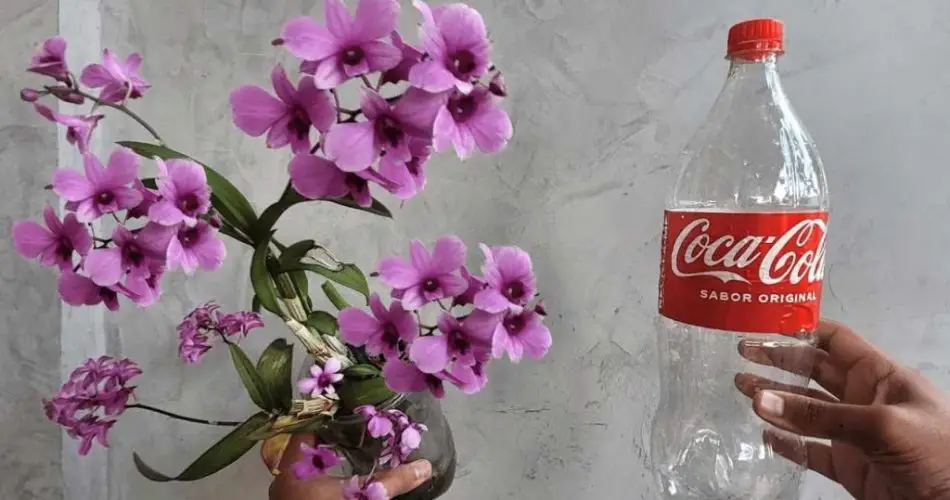
To initiate this specific procedure, the first step is to procure an empty plastic bottle. Ideally, opt for a transparent plastic bottle to allow for clear visibility of its interior.
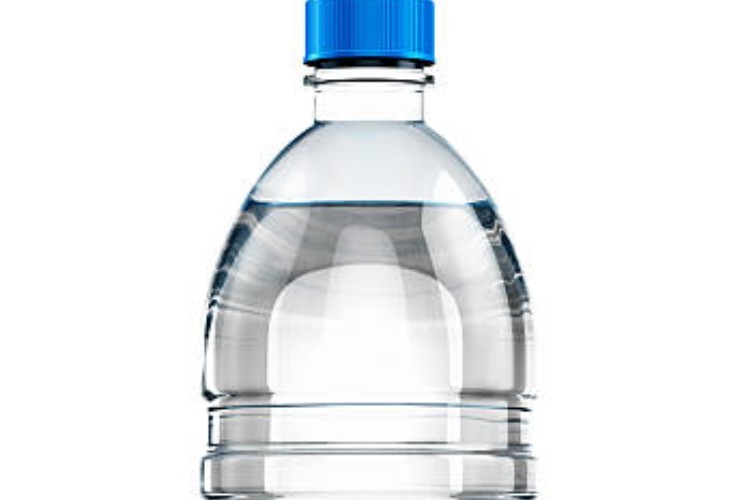
This aspect holds significant importance when considering that the transparency of the bottle facilitates the entry of light into it. The light filtering into the internal part of the plastic bottle is crucial for the roots of the plant, making it advisable to choose a bottle made of this specific material.
Next, remove the label wrapped around the bottle and proceed to the second step, which involves acquiring the second essential tool for this method: the cutter.
With the cutter, carefully divide the bottle into two parts—the lower section and the upper one with the cap—by cutting around the central portion.
Now, take a simple candle and ignite it. Subsequently, place a metal tip, such as that of a knife, on the flame to heat it. Alternatively, a nail can be used. This heated tip is necessary for creating holes in the bottle.
Once heated, use the tip to pierce the cap on the upper part of the bottle multiple times. Reheat the tip as needed to make additional holes, including on the highest part of the bottle, beneath the cap.
Continuation of the bottle method procedure
Now, moving on to the lower part of the bottle, employ the same method as previously described to create holes around its base.
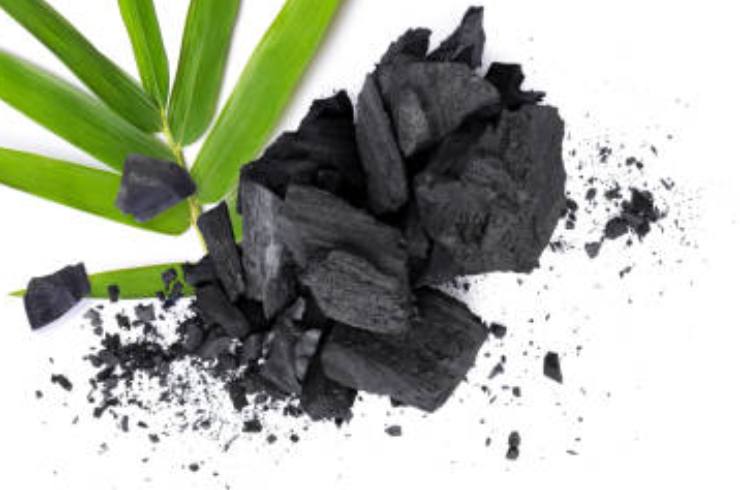
These holes serve a crucial role in the irrigation phase. Following this, take pieces of charcoal, preferably recycled from a barbecue, and position them inside the lower section of the bottle.
Begin by running the base of a heated iron along the outer circumference of the upper part of the bottle. This process softens the plastic, allowing it to retract internally. This adjustment ensures that the edges won’t pose any harm to your orchids.
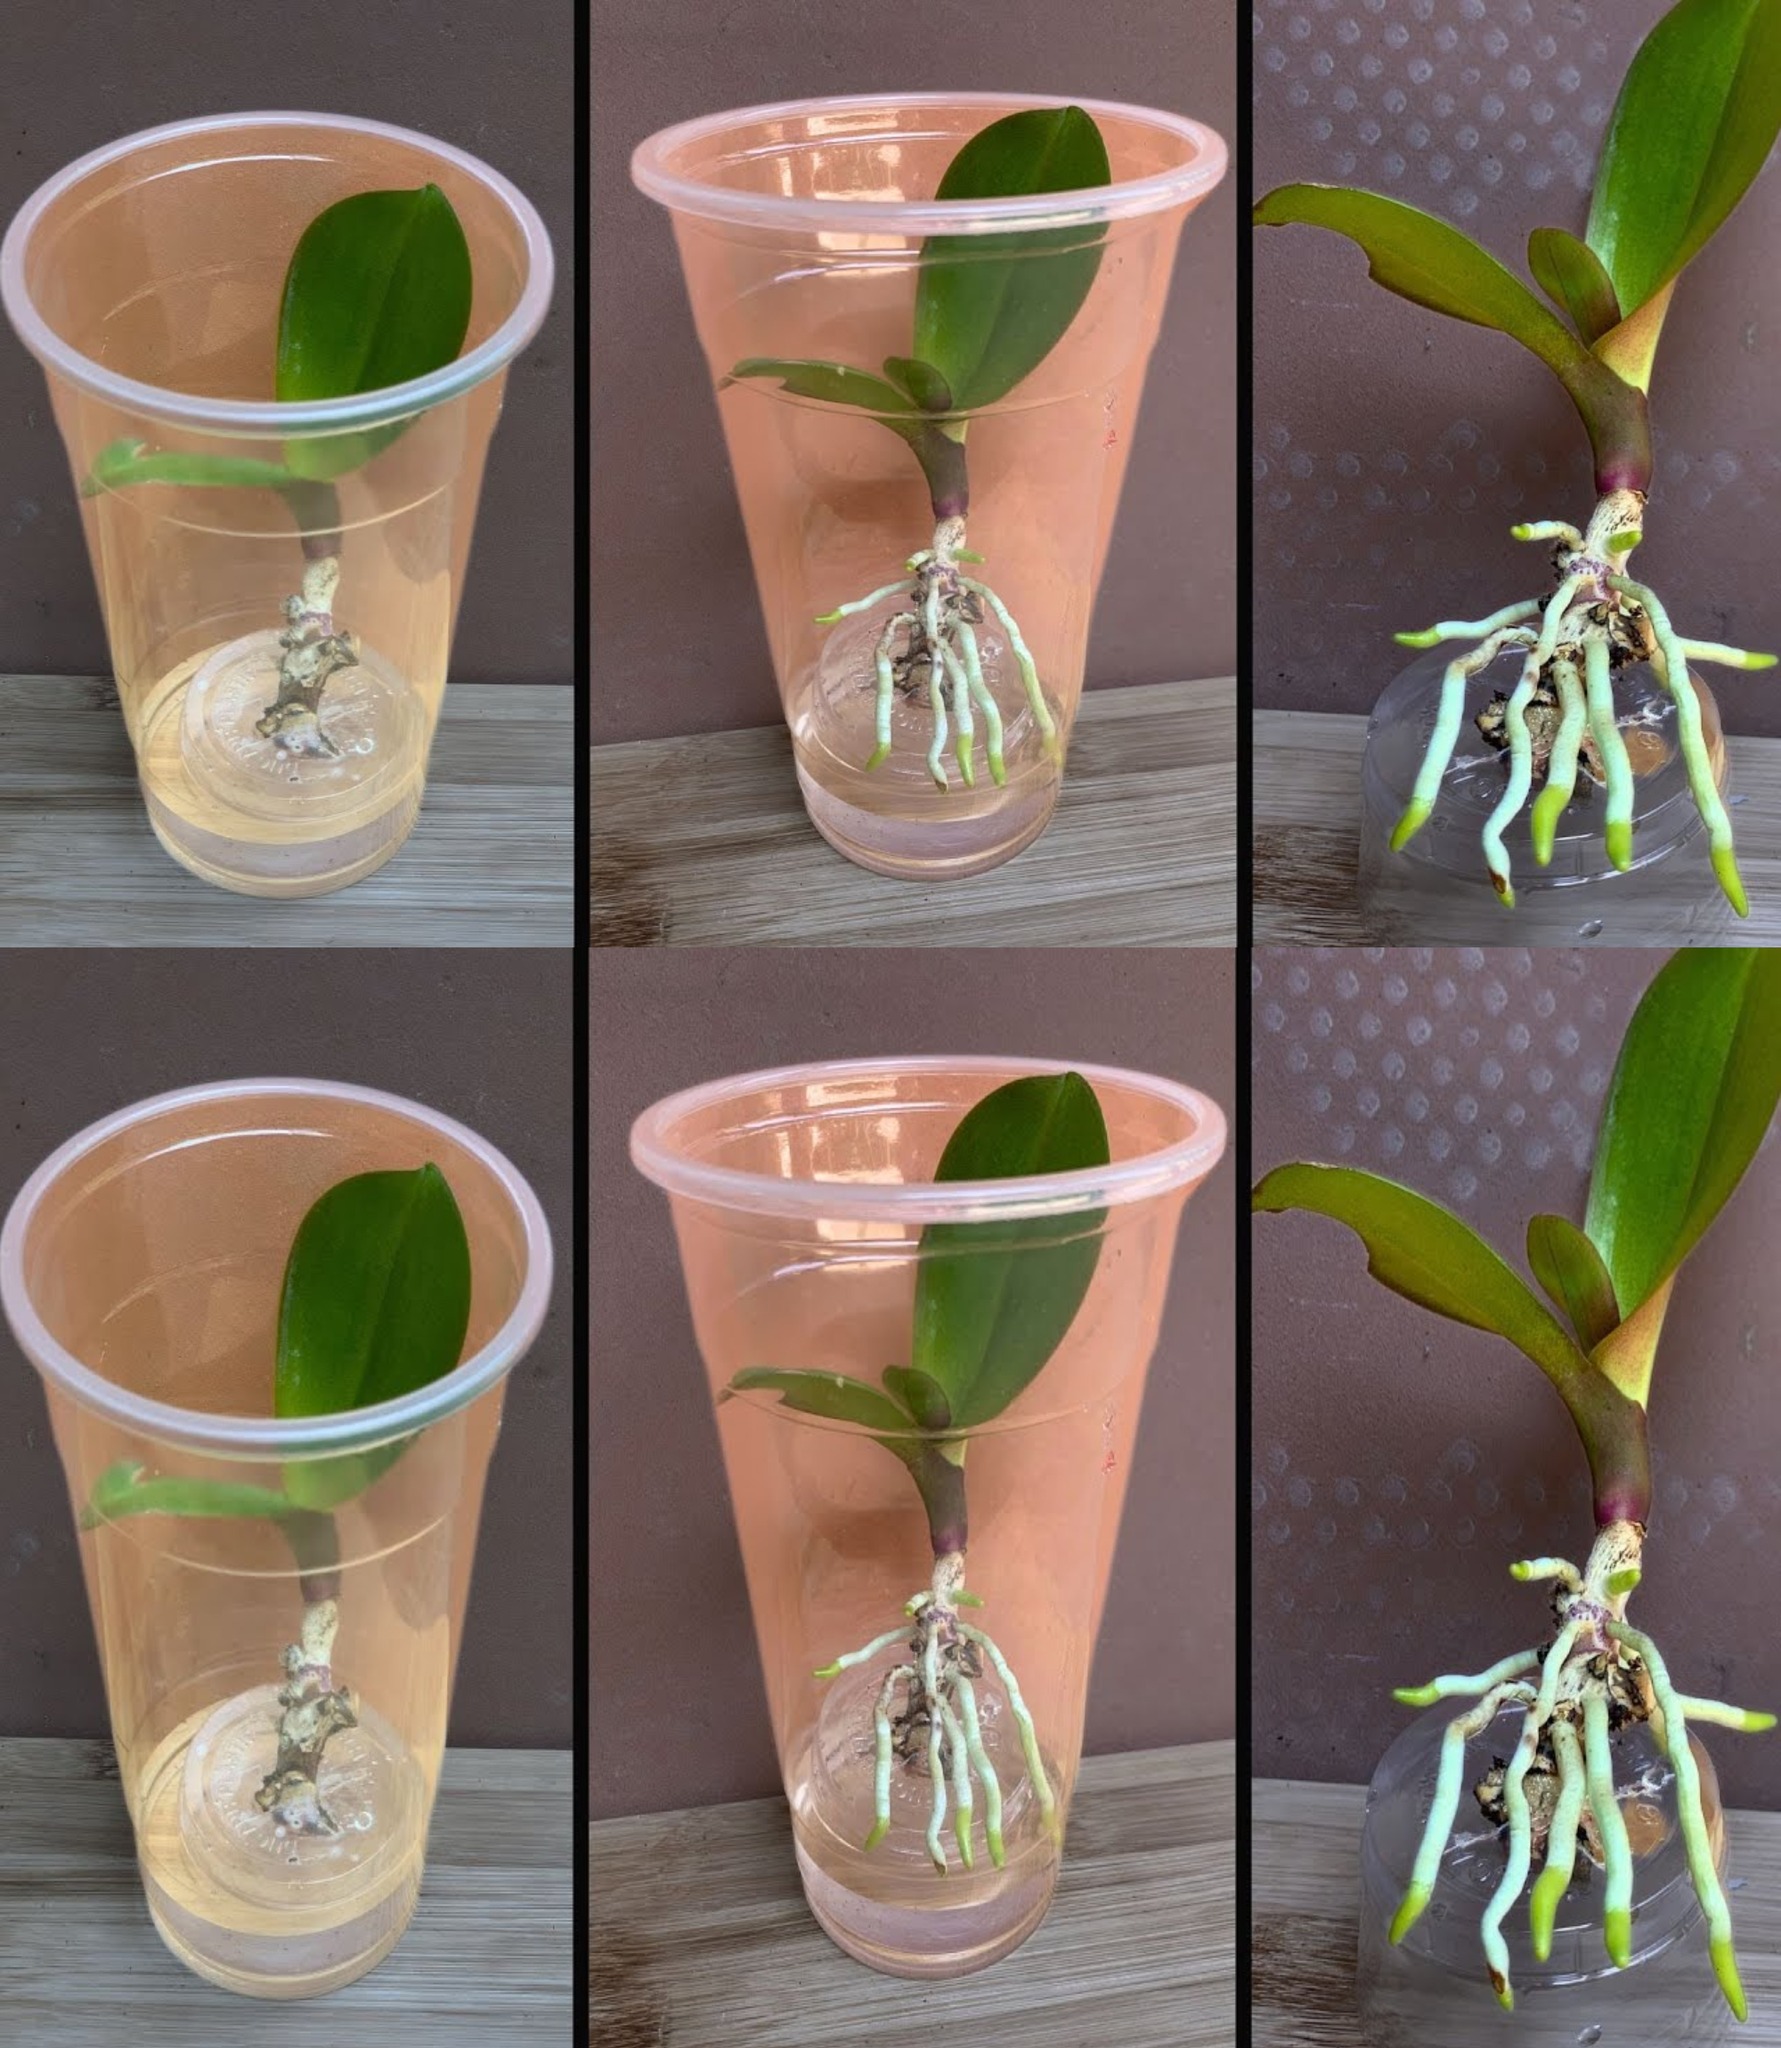
Now, with an orchid plant that already has the substrate in place, position a tray underneath. Gently remove the plant from its pot, taking care not to harm the roots.
Manipulate the substrate with your hands, exposing the roots slightly. Utilize pieces of charcoal and a mix of coconut fiber as a foundation for the plant inside the bottle.
Invert the upper part of the bottle onto the lower section and fill it with charcoal pieces rich in potassium, magnesium, and other nutrients.
The charcoal serves a dual purpose—retaining moisture and acting as a natural fertilizer.
Last details on this method: a method with a thousand surprises
Place the orchid on the charcoal base, filling the upper part of the bottle to the brim with charcoal pieces. Insert a supporting stick to stabilize the plant and use hooks, typically designed for hanging vases, to secure them to the top of the bottle.
Carefully water the plant, avoiding excessive moisture, and hang the vase created with the plastic bottle using the designated hooks. The nutritional elements within the charcoal will rejuvenate the growth and flowering of your orchid, ensuring its long-lasting and pristine condition.
In summary, by now, you’ve likely grasped the significance of this method and the sequential steps to effectively care for your plant, extending its lifespan. This technique is certainly worth experimenting with and recommending! The tangible and enduring results will undoubtedly benefit your orchid.